Online:Cradle of Shadows
|
||||
|---|---|---|---|---|
| Group Dungeon | ||||
| Discoverable | Yes | |||
| Completion | Objective | |||
| Dungeon | Yes | |||
| # of Zones | 1 | |||
| Zone | ||||
| Reticulated Spine, Shadowfen | ||||
| Location | ||||
| Southwest of Stormhold | ||||
| Instanced Dungeon | ||||
| Min Level | 45 | |||
| Group Size | 4 | |||
| Bosses | 3 | |||
| Mini-Bosses | 2 | |||
| Veteran Speed Run Target | 30 mins | |||
| Loading Screen | ||||
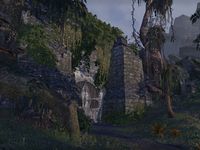
The Cradle of Shadows is the seat of power of the enigmatic figure known only as the Lady of Lace. What lies behind its veil of darkness is known only by her fanatical followers.
|
||||
The Cradle of Shadows is a group dungeon in Shadowfen.
It's part of the Shadows of the Hist dungeon pack DLC, along with Ruins of Mazzatun. The entrance can be found near Stillrise Village, southwest of Stormhold. Its dungeon sets are Gossamer, Hand of Mephala, and Widowmaker.
The Cradle of Shadows is an old Imperial fort that has been converted into the lair of the mysterious Silken Ring, a band of assassins who have defected from the Morag Tong, the Shadowscales and the Dark Brotherhood. They worship the Daedric Prince, Mephala. At first, the Silken Ring didn't appear to be a threat to the other assassin organizations, but now its members have taken to targeting former associates and killing their former employers' most reliable informants. They are led by ex-Morag Tong operative Dranos Velador and a strange figure known as the Lady of Lace.
A small contingent of Shadowscales, led by Tsatva-Lan and Geel-Ma, have recently entered the fortress with the intention of destroying the Silken Ring. Tsatva-Lan learned that the members of the Ring have tapped into a source of immeasurable power, leading him to bring many of his cohorts along with him in raiding Mephala's nest. Tsatva-Lan and his group haven't returned. His former student, Hides-the-Ashes, has come to investigate. She believes that Tsatva-Lan has been abducted by the Silken Ring. Her fears are justified when she arrives to find the fort's entryway filled with dead Shadowscales, and Tsatva-Lan is nowhere to be found.
Backstory Description[edit]
- Update 11 Patch Notes
The Argonians of the Dark Brotherhood need your help against a cadre of rogue assassins who threaten to hurl all of Black Marsh into bloody chaos. Fight your way into the Cradle of Shadows to uncloak the secrets of the twisted Silken Ring!
Related Quests[edit]
- Cradle of Shadows Objective: Explore the Cradle of Shadows. / You put an end to the evil lurking in the Cradle of Shadows.
 Silk and Shadow: Help a former Shadowscale destroy a dangerous new group of assassins.

 Pledge: Cradle of Shadows: Prove you are truly Undaunted by clearing the Cradle of Shadows.
Cradle of Shadows Pledge: Prove you are truly Undaunted by clearing the Cradle of Shadows.(disabled since Patch 2.6.4)
Characters[edit]
|
Enemies[edit]
Normal Enemies[edit]
| Silken Ring | Spiderkith | Spider Caves | The Spinner's Sanctuary | Mephala's Descent | Velidreth's Lair |
|---|---|---|---|---|---|
Minibosses[edit]
- Sithera, a Spider Daedra
- Votary of Velidreth, a giant spider
Bosses[edit]
- Khephidaen, a Spiderkith mage
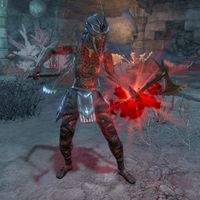
- Dranos Velador, a rogue Dunmer assassin who founded the Silken Ring in service to Mephala
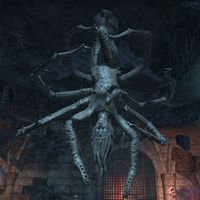
- Velidreth, the Lady of Lace, a giant Hoarvor Daedra who serves Mephala.
Hard Mode[edit]
Hard Mode is only available in the Veteran version of The Cradle of Shadows. Hard mode is initiated by burning the webs on the Altar of Adoration.
- <Examine the idol.>
- "<This carved effigy of the Daedric Prince Mephala has been lovingly adorned with meticulously woven spider silk garments.>"
- <Burn the webs.>
- "<In an instant, the fire evaporates the beautifully crafted webs and scorches the surface of the idol, but the eyes of the statue continue to smolder with a cold hatred long after the flames run their course.>"
Burning the idol will cause a blinding flash of light and will make the boss fight more difficult. For full details of the changes, see Hard Mode Mechanics below. If your group dies, the notes will need to be burned again to reenable Hard Mode.
Boss Mechanics[edit]
Sithera[edit]
This boss is fairly simple, as she has few unique attacks, and doesn't have many mechanics. Occasionally, she'll summon giant spiders to harass you, which can be easily dealt with. There is one brazier lit at the start of the fight. Light the other two braziers and begin fighting Sithera. You'll take high magical damage over time when standing outside the light of the braziers. Similarly, the boss takes very little damage if not standing in the light. The tank should position themselves to draw the boss into the light making the fight shorter. At 66% and 33% health, the boss will extinguish a nearby brazier. Players will have to run to the next lit brazier to avoid taking too much damage from the darkness.
Khephidaen[edit]
Unlike Sithera, Khephidaen is more complicated. She can be difficult on Veteran if your group doesn't know what to do. As throughout the Spider Caves, standing in the darkness deals damage over time and slows you. Stay in the light of the braziers to negate these effects. Once every minute or so, the boss will put out the braziers around the room, and summon Gloom Wraiths to attack the party. The wraiths will summon two Swarming Beetles each. As long as the brazier is extinguished, the beetles will continue to spawn. Players should go near the braziers and press the synergy key to relight them, and kill the wraiths.
There are several other things to look out for.
- Voice of the Spinner: The boss will channels a large magical explosion as indicated by a red circle. This splits into three smaller waves of magic that travel along the ground. The explosion must be avoided at all costs, as it will do massive damage even to tanks.
- Tide of Darkness: The boss swings its staff around, releasing red magical projectiles that strike all players in front of her. This attack does massive damage, and should be blocked by the tank as indicated by the block telegraph. The tank should also ensure the boss is facing away from the team so they do not get hit. Dodge rolling will also help avoid this attack.
- Interruptible: Khephidaen will teleport close to another brazier (usually on the opposite side of the room). She will channel a spell, and have red lines coming off of her, indicating an interruptible attack. If she is allowed to channel this ability, it will send players it hits flying back, knocking them over. Destruction Staff users can slot Crushing Shock or other ranged abilities that interrupt enemies on contact to help out. Alternatively, the tank can bash her.
Defeating Khephidaen causes the encroaching darkness flooding the Spider Caves to dissipate, allowing you to wander unimpeded and climb the ladder to the lever you need to push.
Votary of Velidreth[edit]
This is another simple boss fight. However, the Votary should not be underestimated, as things can go south very quickly if you're not paying attention. The boss will occasionally summon Votary's Broodlings to attack the group. These should be killed as soon as possible.
- Spew Venom: The boss places multiple poison pools on top of a player as indicated by red circles. This always lands on the player's location and thus the player should avoid standing near their allies to prevent the poison from hitting multiple people at once.
- Webspinner's Wrath: The boss pulls everyone in front of itself inwards towards itself using webs. Immediately afterwards, the boss releases a burst of magic around itself as indicated by a large red circle. This does massive damage and should be avoided at all costs, even by the tank. Roll out of the incoming circle if you need to.
Dranos Velador[edit]
At approximately 66% and 33% health Dranos will become invincible, and four Shades of Dranos will appear around the room to attack the group. Killing the Shades will cause them to drop an Essence of Velador. Touching the Essence will return it to the boss, and once all four Essences are collected, the boss will be stunned momentarily, after which he will be vulnerable again. The boss will continue to attack the group as per normal, so this phase has to be dealt with quickly. If the boss himself touches the Shades they will return to him; this may allow the group to quickly bypass this phase if the tank uses Fiery Grip or similar abilities to pull all the adds towards the boss. Killing Dranos without killing the Shades will award an achievement.
Other things to look out for include the following:
- Searing Seal and Fangs of Mephala: Dranos teleports to each player and places a fiery glyph on the ground under their feet as indicated by red circles. This deals moderate magical damage over time. Immediately after Searing Seal, Dranos will teleport to a player (usually the tank) and two Gloom Wraiths will appear and stun that player. Other players must interrupt these NPCs as soon as possible to free the player, and the targeted player has to block the incoming heavy attack. Again, this attack deals massive damage, and non-tanks are likely to die even if they block. Rolling at the moment he swings may help you avoid death.
- Orb of Spite and Wrath of Mephala: The Statue of Mephala in the center will release orbs of magic that explode in a large area as indicated by a red circle, dealing high magical damage. This has to be avoided at all costs. When the boss is low on health, the Statue of Mephala will instead emit constant waves of magic, dealing moderately high magical damage. Players are advised to stay near the edges of the room to avoid being hit by these waves.
- Blade Weaver: Dranos will spin around after a short windup, doing damage around him as indicated by a small red circle. Even though the block telegraph comes up, it is recommended for all players (especially non-tanks) to dodge this attack, as it deals a massive amount of damage to tanks even when blocked.
Velidreth[edit]
During the fight, she will target players with high ultimate charge, pull them in, and consume their ultimate charge, after which she will spit out balls that roll around the arena. When players get too close to the balls they will explode and apply a resource drain. Red balls drain health, blue ones drain magicka, green ones drain stamina, and the color of the balls generated correspond to the highest resource of the player whose ultimate was consumed.
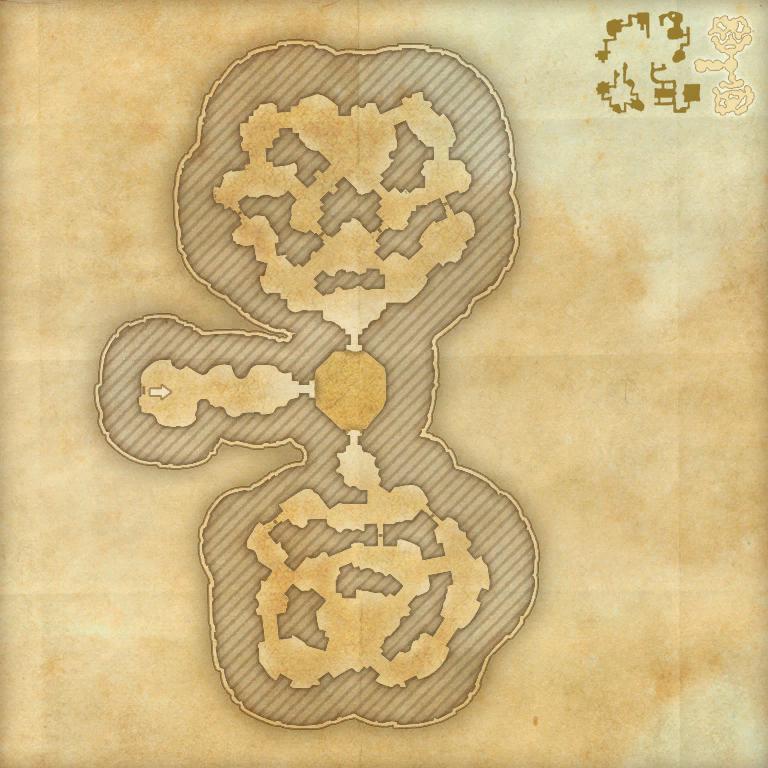
Periodically, Velidreth will teleport the group to a maze area filled with respawning enemies, spike traps, and the darkness you dealt with earlier. In the veteran version of the Cradle of Shadows, she will even split your group, by teleporting two group members to the northern area and the other two to the southern one. The group should return to the boss fight area to continue the fight. To fight the darkness on the way, a player can pick up a light from one of two Flesh Atronachs that spawns in Velidreth's chambers using a synergy. Some braziers are also placed along the path in the Catacombs, which you can light to make the journey easier.
- Shadow Sense: Velidreth will say, "That's it! Don't move a muscle." and jump to the arena's ceiling. This darkens the room and causes a white circle to appear under each player's feet. Stepping off the circle will release a spike that deals quite a lot of damage. Once the purple hue created by this ability fades and the ground begins to tremble, a set of larger red AoE damage circles will appear under each player. Unlike the smaller white circles, these must be dodge rolled out of to avoid taking a very high amount of damage. One way you can anticipate when you should roll-dodge is to look up at the ceiling where Velidreth climbs. She climbs up and stays still, and when she moves again is when you should dodge.
When not busy performing any of the above mechanics, Velidreth will actively target any players attempting to resurrect by charging a ranged projectile. If this attack is not interrupted, the projectile will deal knock back along with a moderately high amount of damage and most importantly interrupt the resurrection attempt.
Hard Mode Mechanics[edit]
Layout[edit]
Scorpions and spook spiders scuttle across the floor throughout the dungeon.
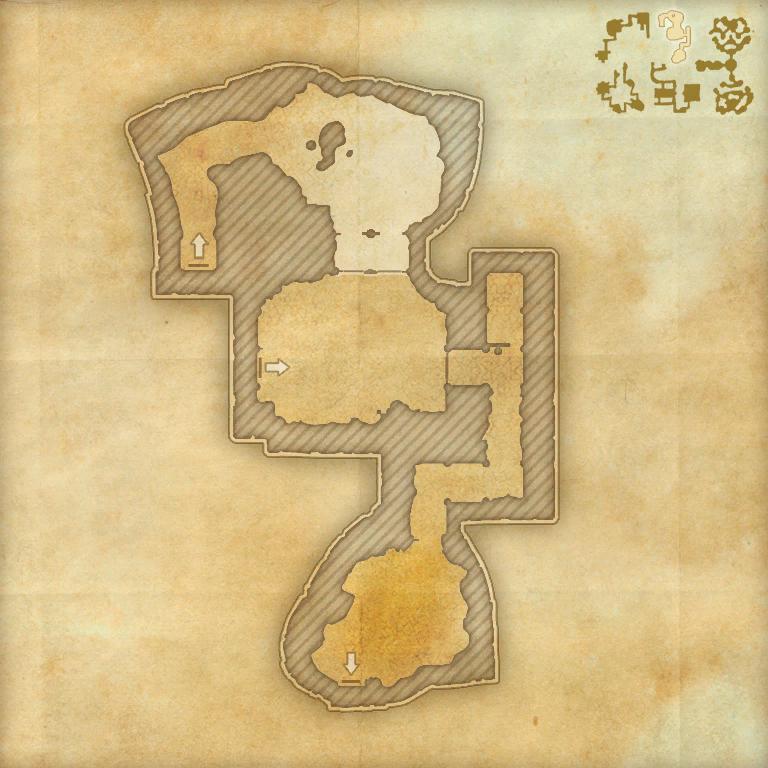
Cradle of Shadows[edit]
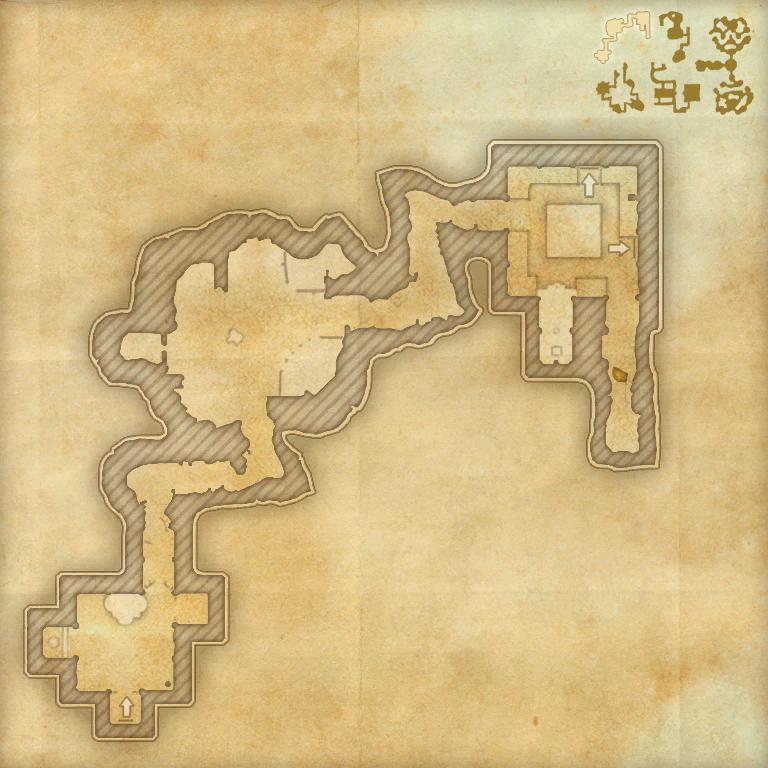
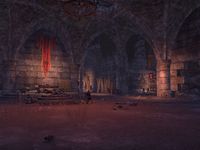
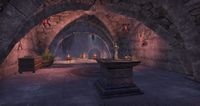
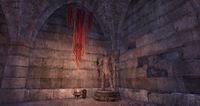
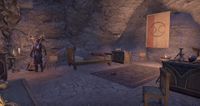
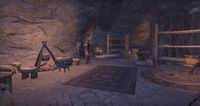
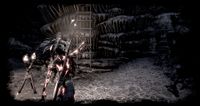
The fort still has Imperial accoutrements left over from its former occupants, but it has been decorated with Dunmer furnishings. Rugs, statues, beds, dressers, pillows and more turn the first portion of the dungeon into a set of comfortable living quarters for the Silken Ring's assassins. Banners and tapestries emblazoned with Mephala's emblem are hung upon the walls. Daedric lanterns hang from the ceiling in some places, while Daedric pots sit on the ground near statues, against walls and among the homey Dunmer furnishings.
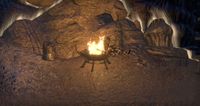
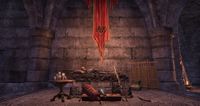
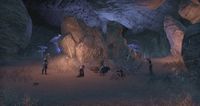
Geel-Ma's Diary can be found at the entrance, beside an altar with the skeleton atop it. Hides-the-Ashes is investigating the Shadowscale corpses in front of the altar. Silken Ring cultists line the first hallway, including one Silken Ring Deathstriker. In the next large room, you'll encounter your first statue of Velidreth's Devotion and another Silken Ring Deathstriker. There is a large group of cultists to kill in this chamber. There are also many backpacks and dressers you can loot in this room, if you feel so inclined. Many provisioning ingredients also line the room, hidden in barrels and sacks, and sitting on top of tables.
Head east from the first large chamber to enter the next room. You'll encounter another group of Silken Ring cultists in the tunnels, including one Deathstriker. Another large group of enemies is waiting for you in the northeastern chamber. Of note, you'll be faced with one statue of Velidreth's Devotion and two Silken Ring Deathstrikers.
The doors to the north and east are blocked by portcullises. There is a lever sat upon a ledge to the south, which opens the northern door when pulled. You'll need to head through the trap door to the southeast to enter the Spider Caves so you can reach the lever. A heavy sack can be found to the right of the eastern door, which leads to the Spinner's Sanctuary.
Silken Ring Deathstrikers[edit]
Silken Ring Deathstrikers, while not Elite Enemies, are still dangerous. Their heavy attack does a lot of damage, and they can unleash a conal AoE in front of them that deals a good amount of poison damage. The tank should grab the Deathstrikers and keep them turned away from the group.
Velidreth's Devotion[edit]
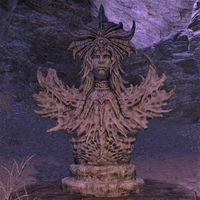
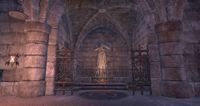
There are statues of Velidreth's Devotion scattered throughout the Cradle of Shadows. These are large busts depicting Mephala. These statues are usually surrounded by larger groups of enemies, and should take priority over the Silken Ring fodder. Focus on the statues first, as they can empower the Silken Ring cultists, causing their attacks to deal more damage. The statues can also unleash orbs of energy to damage the group. When combat begins near a statue of Velidreth's Devotion, its eyes will glow red to let you know it's active.
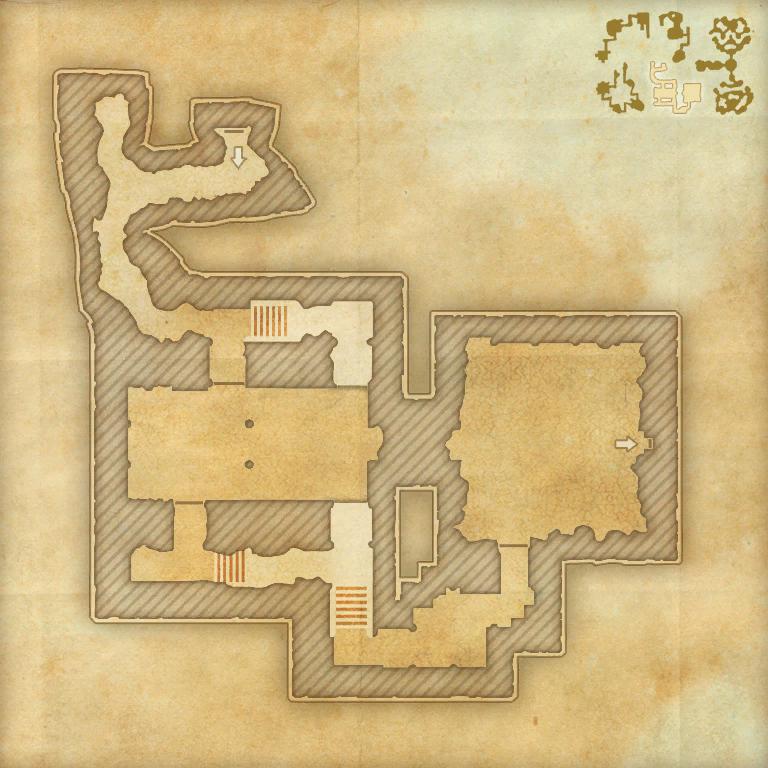
Spider Caves[edit]
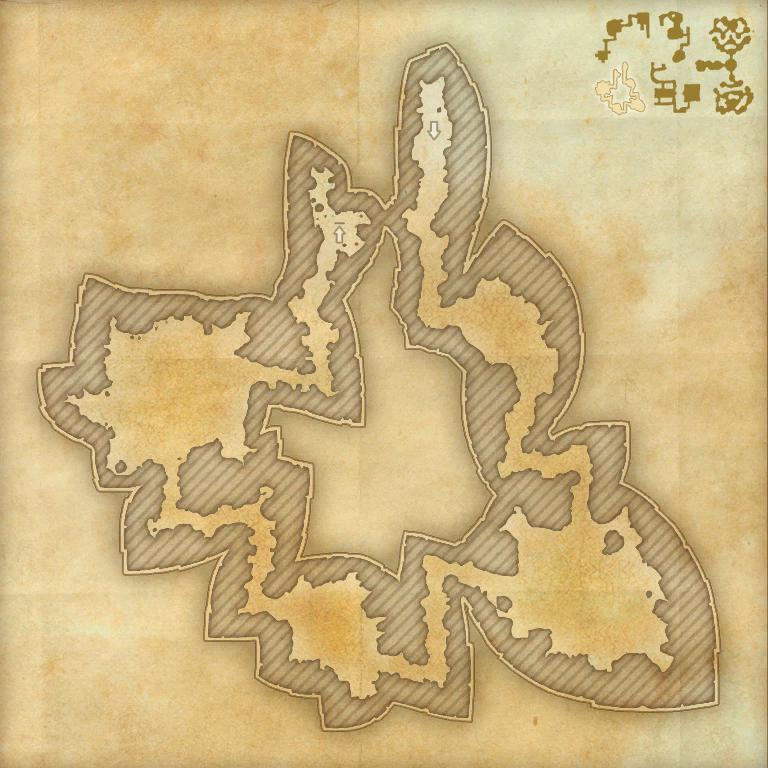
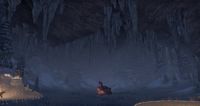
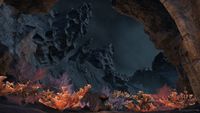
The Spider Caves are a series of dark, winding tunnels covered in webs and filled with spiders. A constant debuff called the Pull of Darkness is present throughout this entire section. You must take measures to negate it as detailed below. A Web-Covered Diary can be found in these caves. Sithera can be found in the southeastern chamber.
Khephidaen is the source of the burdening darkness permeating throughout the cavern. She guards the cave's exit in the northeastern chamber, and you must defeat her in order to be able to leave the Spider Caves. Once Khephidaen is dead, the darkness dissipates, allowing you to move throughout the Spider Caves unhindered. The tunnel leading to the exit ladder is located on the east side of the chamber.
Pull of Darkness[edit]
Right off the bat, you'll notice that there are braziers lining the tunnels. If you walk up to an unlit brazier, you will be prompted to light it with a synergy. The unlit braziers are surrounded by yellow circles, indicating that you can synergize next to them. As you walk through the unlit portions of the Spider Caves, you'll be affected by the Pull of Darkness, which slows your movement speed considerably and deals a low amount of damage over time. If you linger too long in the dark, your speed will eventually be reduced to a low crawl, even while sprinting. Standing next to a lit brazier will remove the effects of the Pull of Darkness, restoring your movement speed and allowing you to sprint for several seconds before you are inevitably subjected to the Pull of Darkness again. It is crucial that your group lights as many braziers as it needs while you're traversing the Spider Caves so no one gets left to die in the dark. You don't need to light all of them, just light them as you go along. Speed boosting abilities such as Rapid Maneuver can be used to lighten the burden as you're sprinting through the darkness.
The Spinner's Sanctuary[edit]
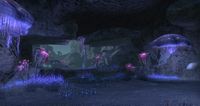
Once you've pull the lever atop the ledge after exiting the Spider Caves, you'll be able to go into the room north of the ledge. You'll find yourself in a cave, alight with an enchanting purple glow. This area is above the Spinner's Sanctuary, separated from the main room by the fort's stone walls. A lever lies to the northeast, near a grate from which you can view the Spinner's Sanctuary. A group of Silken Ring cultists worships an idol of Velidreth's Devotion here. You can try to sneak past them, but the boss won't spawn until you do, and you can't pull the lever to enter the next area without killing the boss. Kill them, and a giant spider climbs down from the ceiling further within the cave. This is the third boss, the Votary of Velidreth. You must defeat it in order to be able to pull the lever that raises the portcullises over the other door in the previous room.
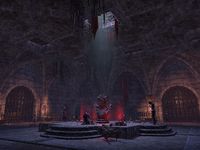
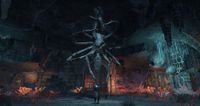
Once the lever is pulled, you will be able to access the Sanctuary proper. A large statue of Mephala is suspended upside-down from the ceiling. You will face Dranos Velador in this room. Dranos's Diary can be found in this room.
Mephala's Descent[edit]
Velidreth's Lair[edit]
Books[edit]
Sets[edit]
| Set Name | Bonuses | Location(s) | Set Type |
|---|---|---|---|
| Gossamer |
2 items: Adds 3-129 Magicka Recovery |
Cradle of Shadows |
Light Armor |
| Widowmaker |
2 items: Adds 15-657 Critical Chance |
Cradle of Shadows |
Medium Armor |
| Hand of Mephala |
2 items: Adds 4% Healing Taken |
Cradle of Shadows |
Heavy Armor |
| Velidreth |
1 item: Adds 3-129 Weapon and Spell Damage |
Cradle of Shadows |
Monster Helm Sets |
Achievements[edit]
There are 18 achievements associated with this dungeon:
| Achievement | Points | Description | Reward | |
|---|---|---|---|---|
| Shadows of the Hist Explorer | 5 | Enter either the Ruins of Mazzatun or the Cradle of Shadows for the first time. | Personality: Heroic | |
| Silken Ring Style Master | 50 | Learn every chapter in the Silken Ring style book, occasionally found as rewards for completing the Cradle of Shadows dungeon. |
| |
| Needed for Cradle of Shadows Challenger | ||||
| Cradle of Shadows Challenger | 50 | Complete the listed achievements for Veteran Cradle of Shadows. | Skin: Spiderkith | |
| Cradle of Shadows Conqueror | 10 | Defeat Sithera, Khephidaen the Spiderkith, the Votary of Velidreth, Dranos Velador, and Velidreth the Lady of Lace in Veteran Cradle of Shadows. | Bust: Velidreth, Lady of Lace (page) | |
| Velidreth's Vengeance | 50 | Defeat Velidreth in Veteran Cradle of Shadows, after first enraging her by defiling her statue of Mephala. | ||
| Exterminator | 50 | Defeat Sithera, Khephidaen the Spiderkith, the Votary of Velidreth, Dranos Velador, and Velidreth the Lady of Lace in Veteran Cradle of Shadows within 30 minutes of starting the dungeon. Timer starts on entering the initial caverns. | ||
| Beacon in the Night | 50 | Defeat Sithera, Khephidaen the Spiderkith, the Votary of Velidreth, Dranos Velador, and Velidreth the Lady of Lace in Veteran Cradle of Shadows without suffering a group member death. |
| |
| Normal | ||||
| Cradle of Shadows Vanquisher | 10 | Defeat Sithera, Khephidaen the Spiderkith, the Votary of Velidreth, Dranos Velador, and Velidreth the Lady of Lace in the Cradle of Shadows. | Trophy: Velidreth, Lady of Lace (page) | |
| Venomous Evasion | 10 | Defeat Velidreth in Cradle of Shadows without any party members being hit by venom sacs. |
| |
| Veteran | ||||
| Shadows of the Hist Delver | 50 | Complete Veteran Cradle of Shadows and Veteran Ruins of Mazzatun. | Title: Hist-Shadow | |
| Iconoclast | 10 | Destroy 50 statues of Velidreth's Devotion in Veteran Cradle of Shadows. | ||
| Fear No Darkness | 10 | Pass through the spider caves in Veteran Cradle of Shadows without lighting more than two braziers. | ||
| Spider Cult Slayer | 10 | Defeat 600 members of the Silken Ring or their Spiderkith allies in Veteran Cradle of Shadows. | ||
| Shadowplay | 10 | Defeat Khephidaen the Spiderkith in Veteran Cradle of Shadows without relighting any extinguished braziers. | ||
| Divided He Fell | 10 | Defeat Dranos Velador in Veteran Cradle of Shadows without absorbing any orbs. | ||
| Web Walker | 10 | Defeat Velidreth in Veteran Cradle of Shadows without any party members dying in the catacombs. | ||
| Embrace the Shadow | 10 | Defeat Velidreth in Veteran Cradle of Shadows without using the Atronach's Light synergy. | ||
| Nothing to See Here | 10 | Defeat Velidreth in Veteran Cradle of Shadows without any party members being caught by her Shadow Sense. | ||
Notes[edit]
- Marrow Fiends used to be found in the Catacombs around Velidreth's Lair, but they were removed from the game after Patch 3.1.5.
- From the Journal of Dranos Velador, Field Captain of the Silken Ring talks about the Cradle of Shadows.
Maps[edit]
|
