Lore:Statues/Tribunal and Saints
Tribunal[edit]
Tribunal[edit] |
|
 ESO ESO |
 Morrowind Morrowind |
|---|---|
|
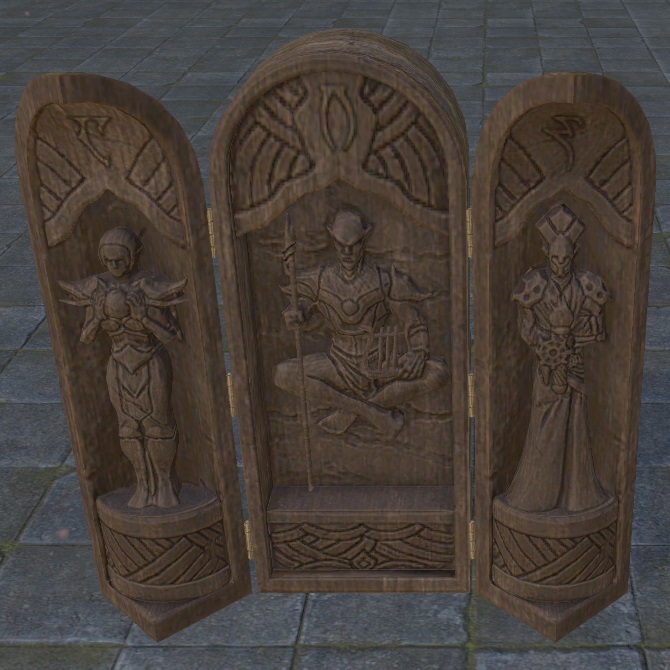
Statuary or bas-reliefs of all three members of the Tribunal are uncommon, but one example was a wooden triptych where the three were featured alongside the Daedric letters they represented: Ayem for Almalexia, Vehk for Vivec and Seht for Sotha Sil.[1] |
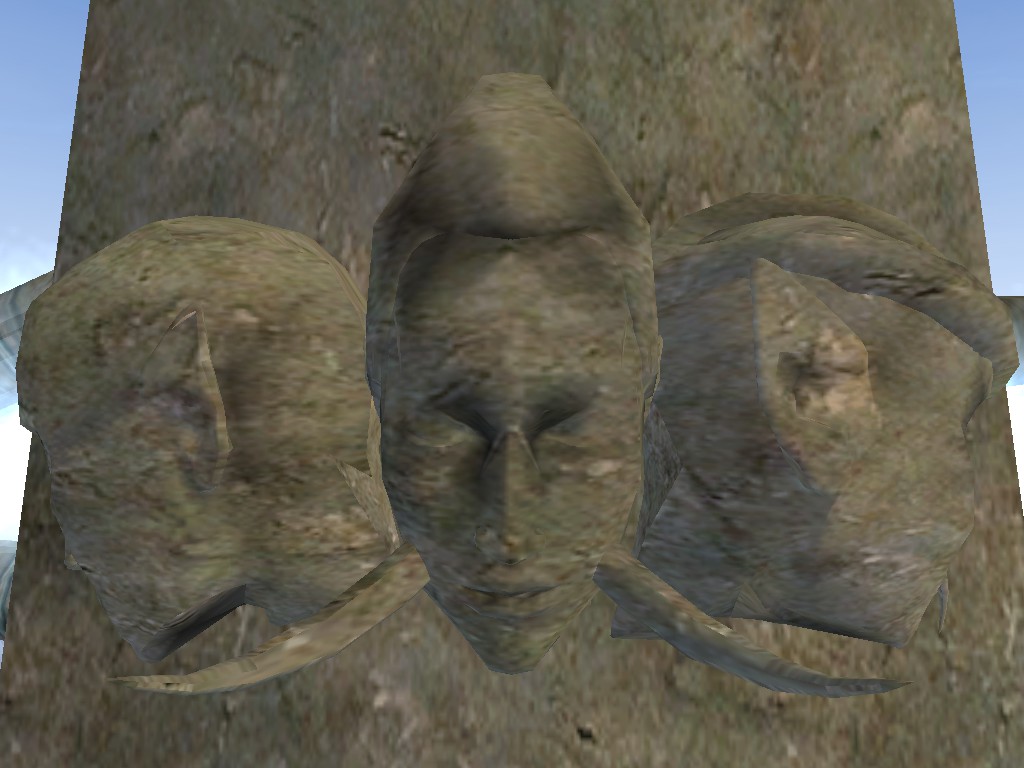
Arguably the most prominent statuary that featured all three was the large sculptures of the Tribunal carved into the posts along the Ghostfence.[2] |
Almalexia[edit] |
|||
 ESO ESO |
 Morrowind Morrowind |
 Morrowind Morrowind |
 Skyrim Skyrim |
|---|---|---|---|
|
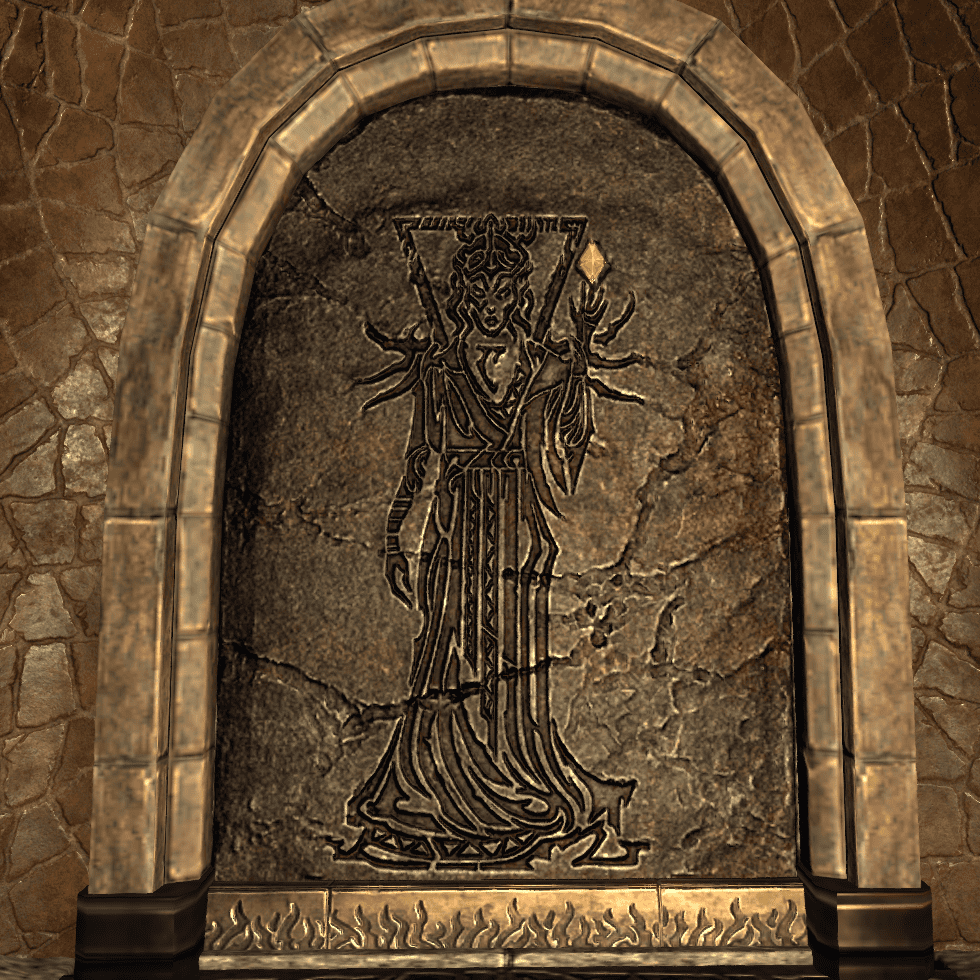
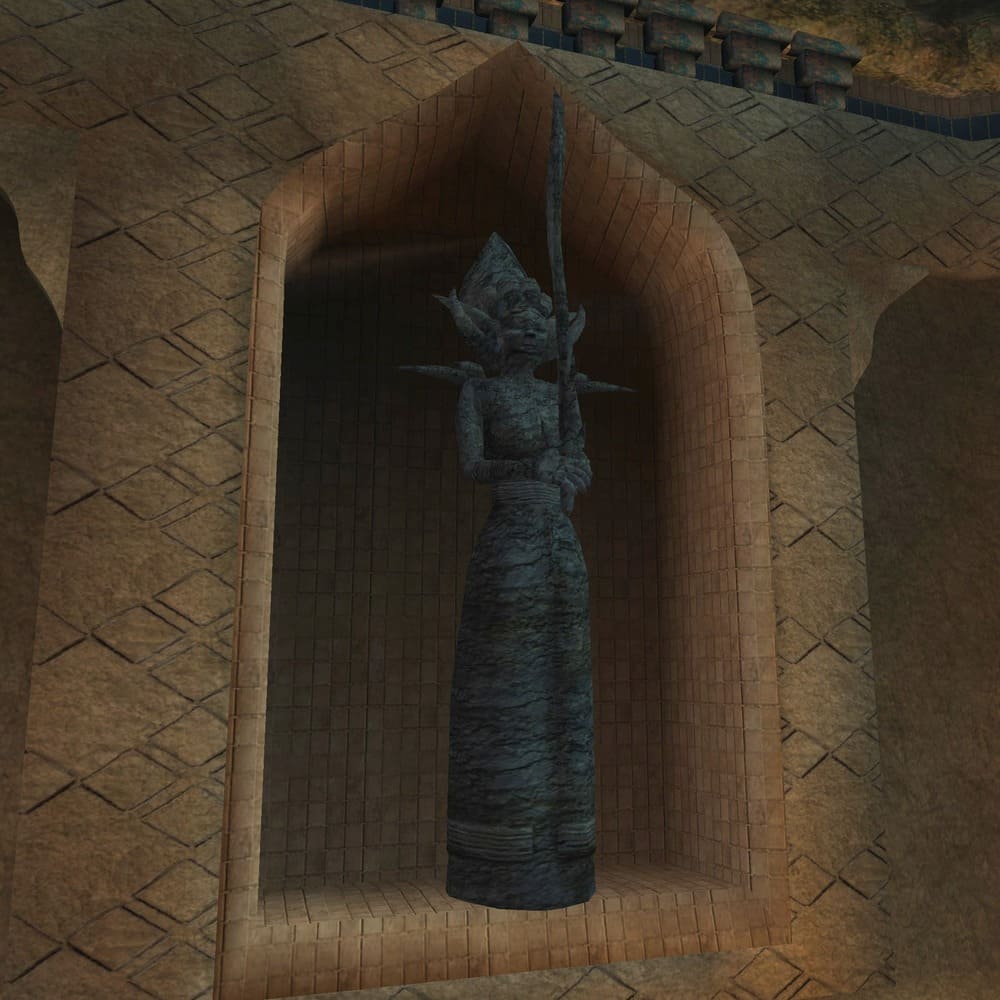
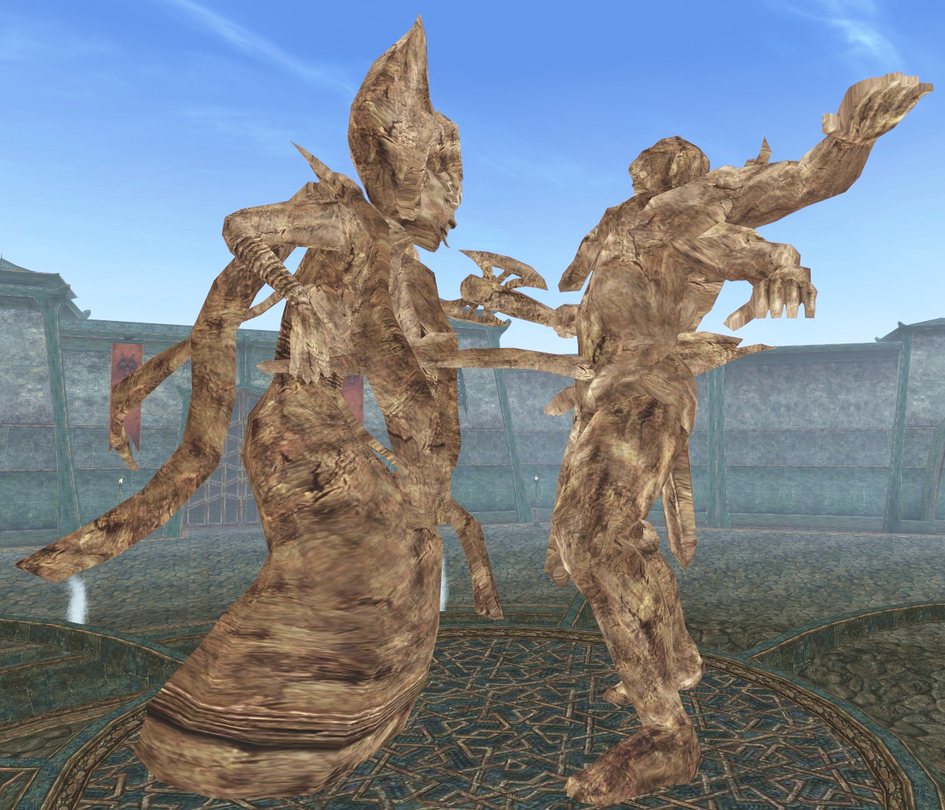
Statuary and reliefs of Almalexia in Morrowind sometimes featured her wearing her war mask and dressed modestly in robes, which is said to be in stark contrast to how she actually appears.[3] Given her title of "Mother Morrowind", other statuary features her in a more motherly role where she is depicted with her arms crossed over her pregnant belly.[4] |
A great statue of Almalexia in battle with Mehrunes Dagon was built in the Plaza Brindisi Dorom in Mournhold at some point after the mid-Second Era. It commemorates Almalexia and Sotha Sil's victory over the Prince of Destruction after he destroyed the royal city of Old Mournhold at the end of the First Era in 1E 2920. Although Almalexia and Sotha Sil arrived too late to prevent the city's destruction, they managed to banish Mehrunes Dagon back to Oblivion.[5] |
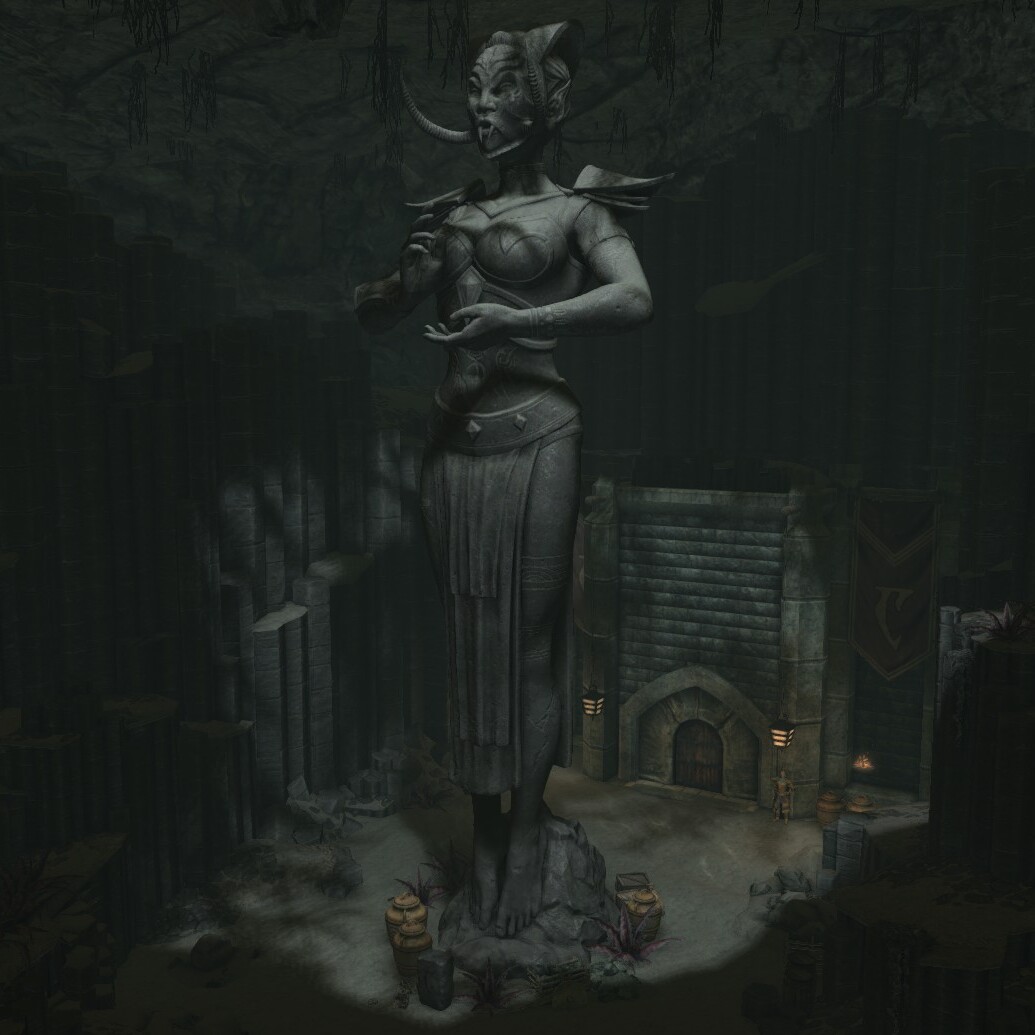
After the fall of the Tribunal following the Red Year, worship of Almalexia and the Tribunal was replaced by the Reclamations.[6] On Solstheim rebel priests and devotees of the old way continued to worship the Tribunal, and built a hidden temple and a large statue of Almalexia in Ashfall's Tear, a cave found north of Raven Rock.[7] |
|
Sotha Sil[edit] |
|
 ESO ESO |
 ESO ESO |
|---|---|
|
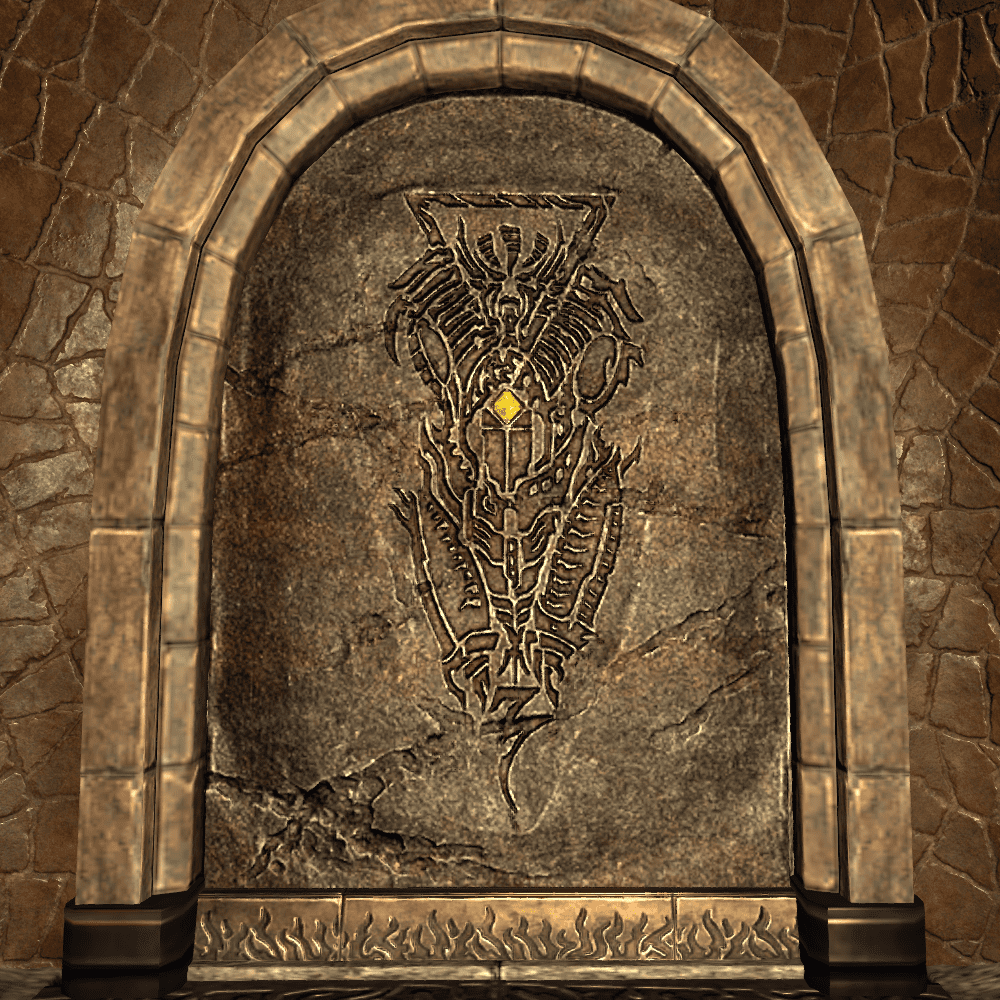
Depictions of Sotha Sil on Tamriel are uncommon, but one tablet bas-relief features him in a highly stylized form wearing his unique mask. A similar depiction can also be found on some frescos in Vvardenfell.[8] Various depictions of Sotha Sil could be found in the Clockwork City during the mid-Second Era, such as polished copper figurines that were presented to new Clockwork Initiates after their induction into the order.[9][10] Of note was a Dwarven Metal statuette of Sotha Sil depicted as a Dwarven Centurion, crafted by an artisan known as Zephalas.[11] |
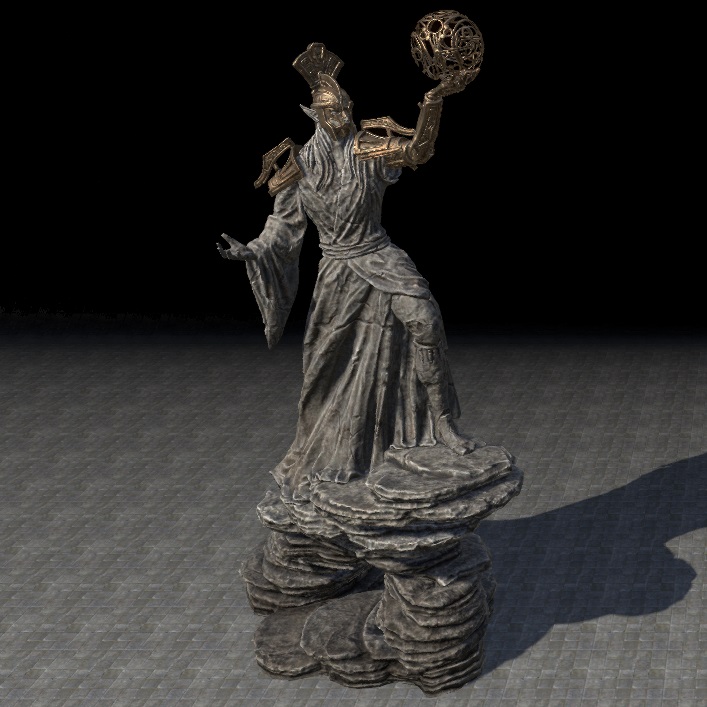
The most prominent depiction of Sotha Sil was a large statue of the Clockwork God holding a sphere, which could be found at the center of the Brass Fortress within the Clockwork City, his miniature metaphysical realm.[12] |
Vivec the Champion[edit] |
|
 ESO ESO |
 Morrowind Morrowind |
|---|---|
|
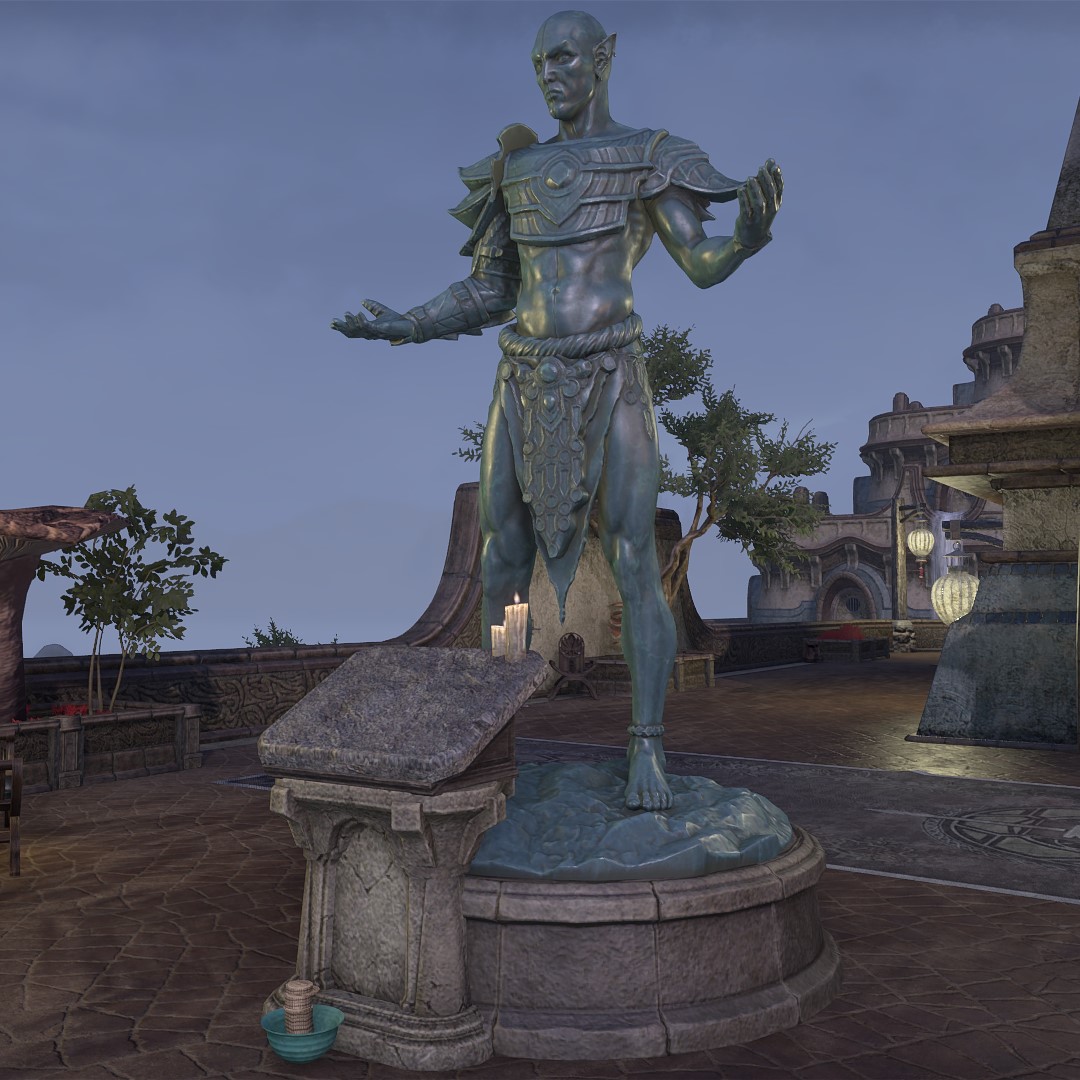
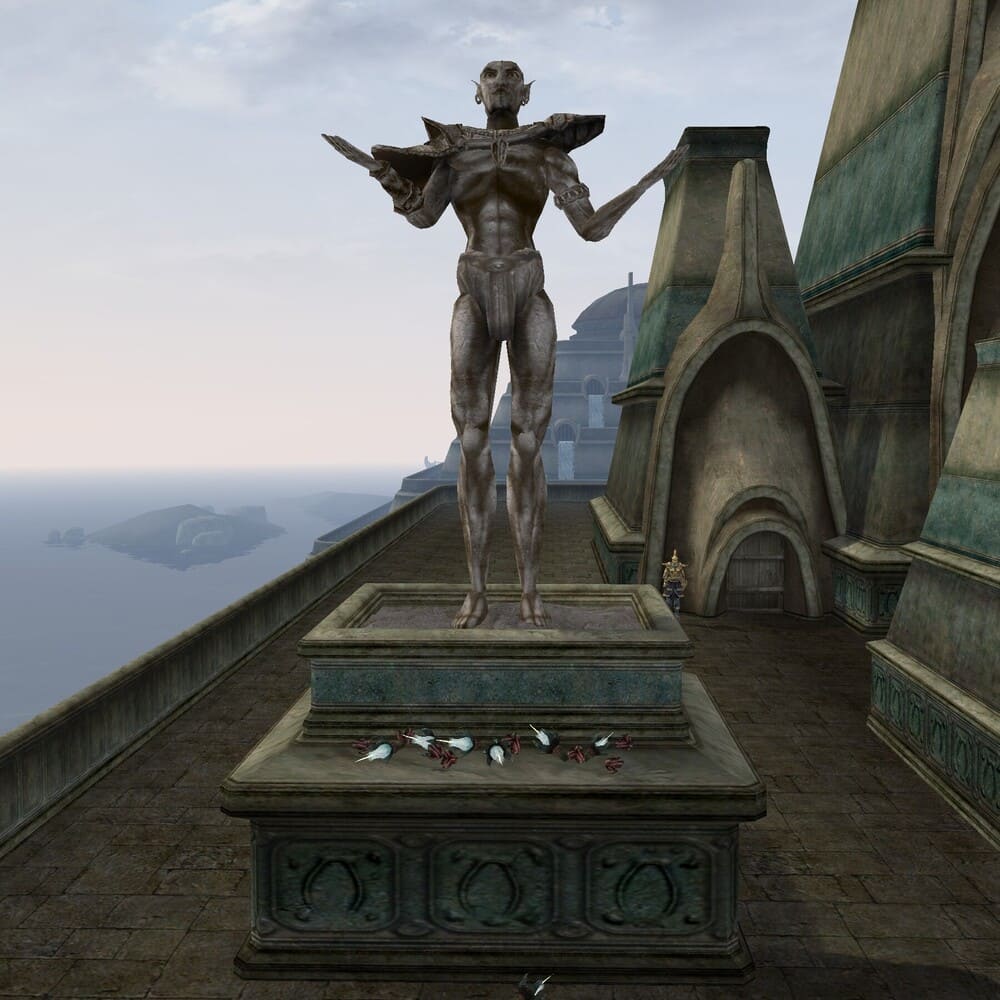
A statue of Vivec, also known as "Vivec the Champion" and the "Shrine of Generosity", was built in the Temple Canton of Vivec City during the mid-Second Era. It was built to commemorate the people who suffered and died in the War of the First Council, where the Chimer fought with the Dwemer.[13] Curiously, by the late-Third Era the Shrine of Generosity was moved to the top of the stairs to Vivec's Palace, but the statue of Vivec remained in the Temple Canton.[14] |
|
Vivec and the last N'chorbal[edit] |
|
 ESO ESO |
 Morrowind Morrowind |
|---|---|
|
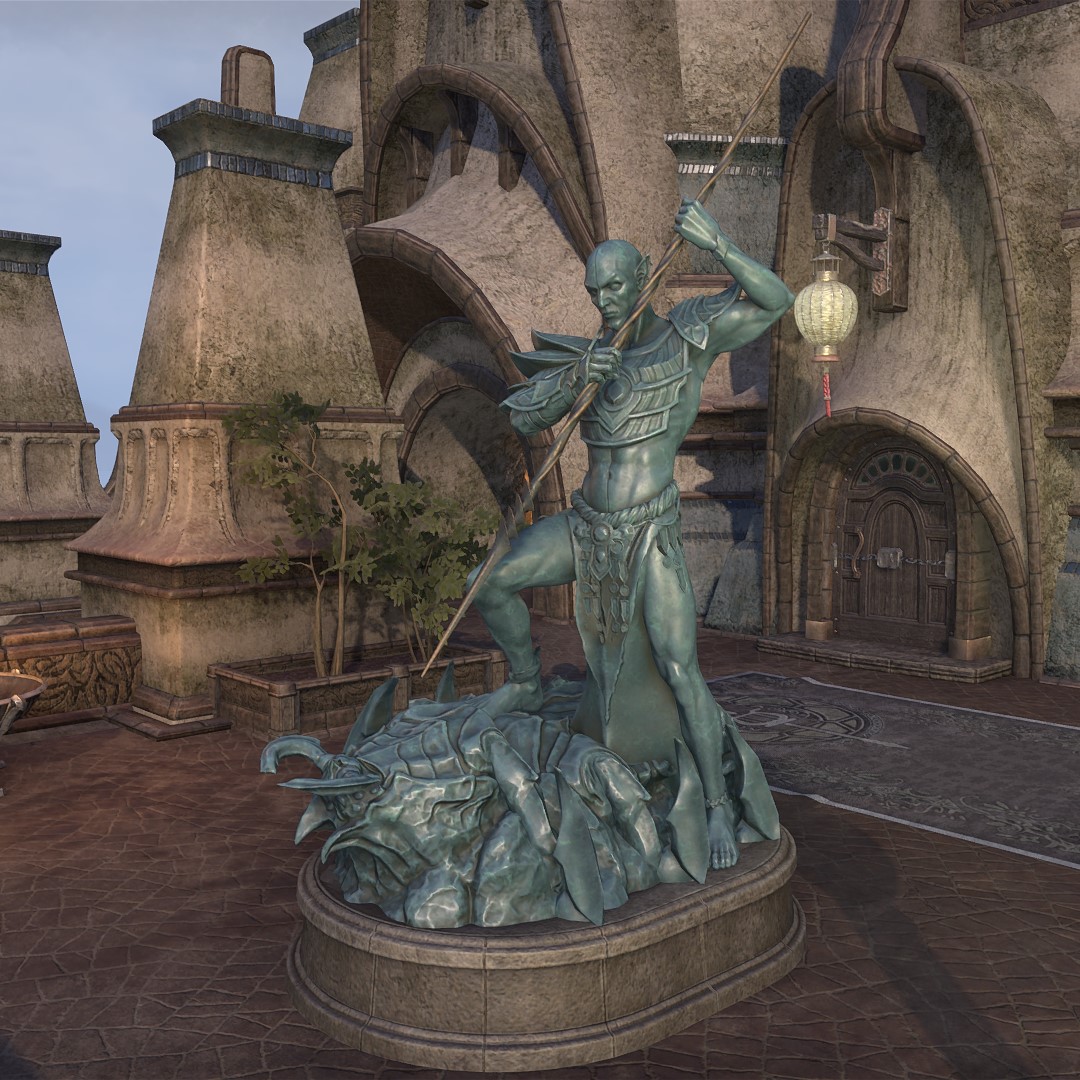
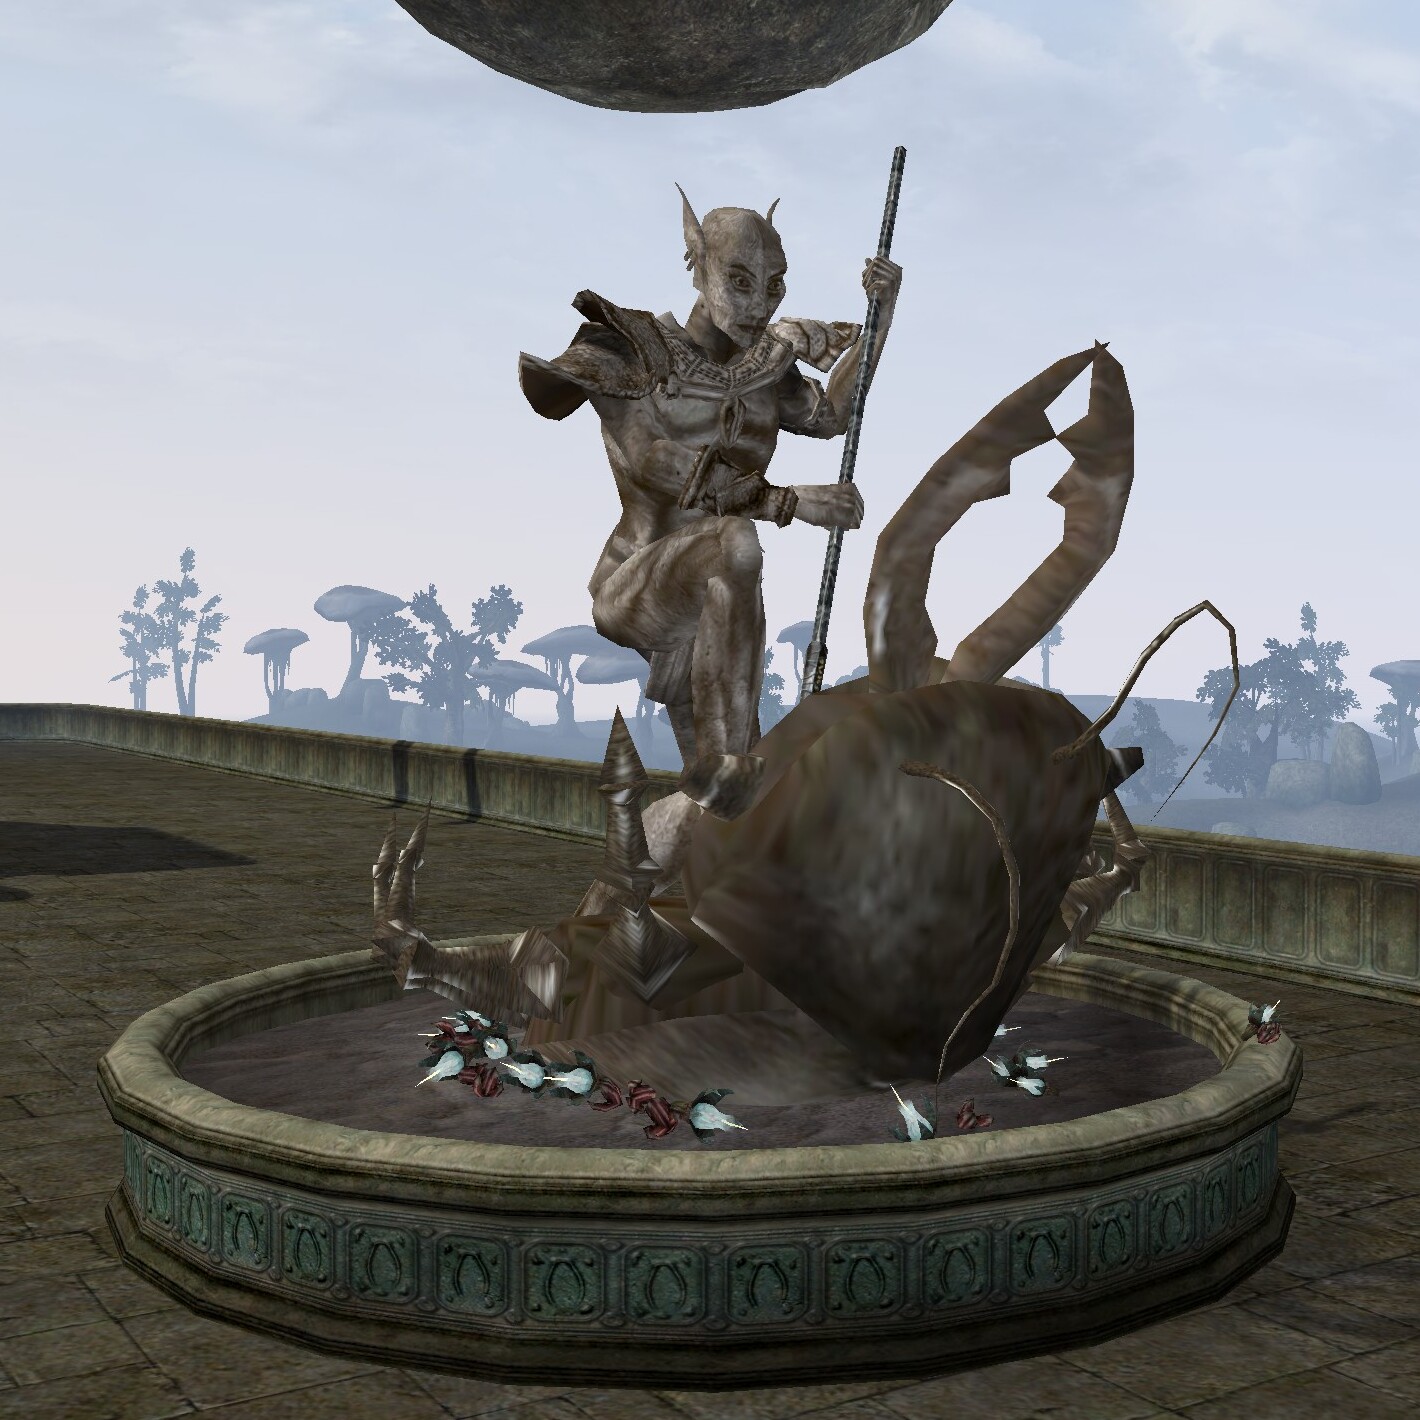
A statue known as "Vivec's Triumph" depicts Vivec killing the last N'chorbal on Vvardenfell with his spear Muatra.[UOL 1] It was built in the Temple Canton of Vivec City during the mid-Second Era.[15] |
|
Vivec and Gulga Mor Jil[edit] |
|
|
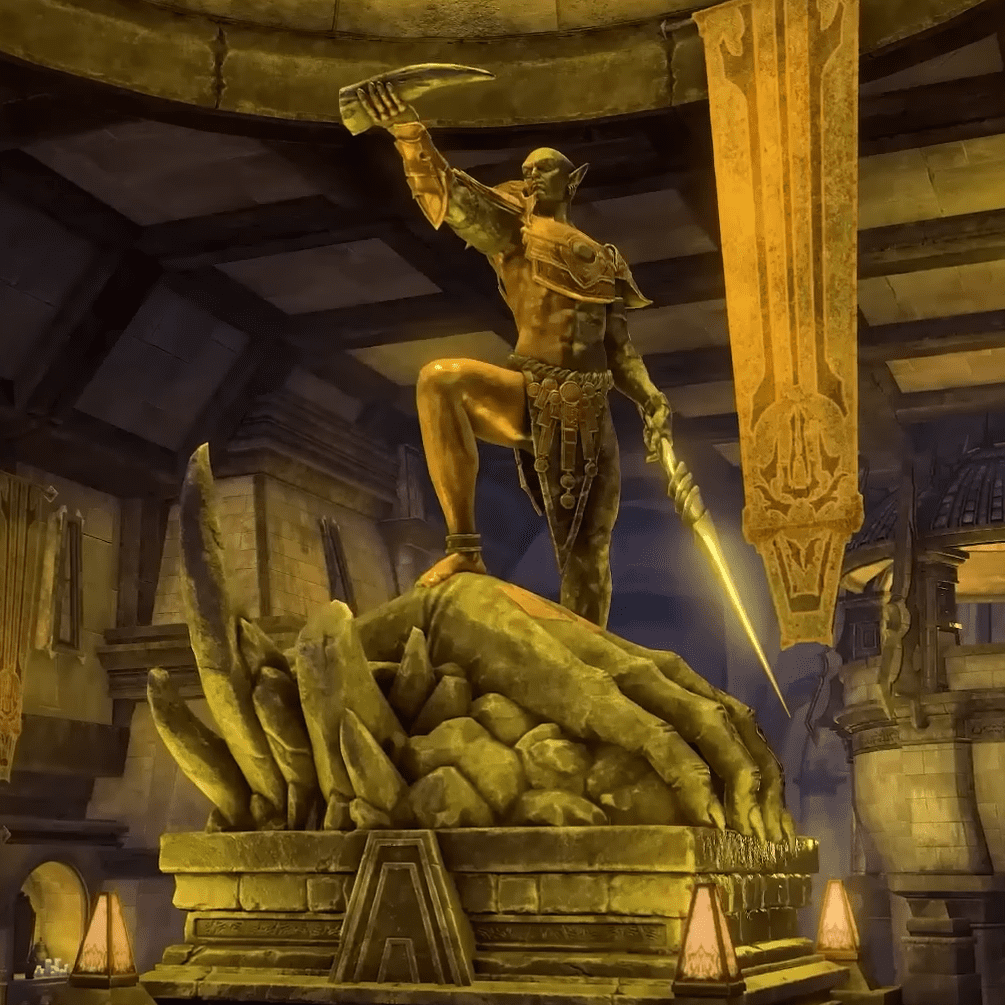
A statue of Vivec standing over the remains of Gulga Mor Jil, holding aloft one of his tusks was built in the Guild Plaza of Necrom.[16] Its sometimes referred to as "Vivec's Triumph" or the "Thirty-Fourth Sermon".[17] Gulga Mor Jil was one of Vivec's eight monster children he bore in an unholy union with Molag Bal. He was said to be the mightiest of his children and his name was a string of power.[18][19] Unlike his other children, Gulga Mor Jil showed no violent nature or intent to harm others and accepted his death peacefully. His bones went on to lay the foundations of Necrom and runes were transcribed onto his tusk to create the Fulcrum Obscura.[18][20] |
 ESO ESO |
Imperial, Breton and Temple Saints[edit]
Saint Delyn and Saint Olms[edit] |
|||
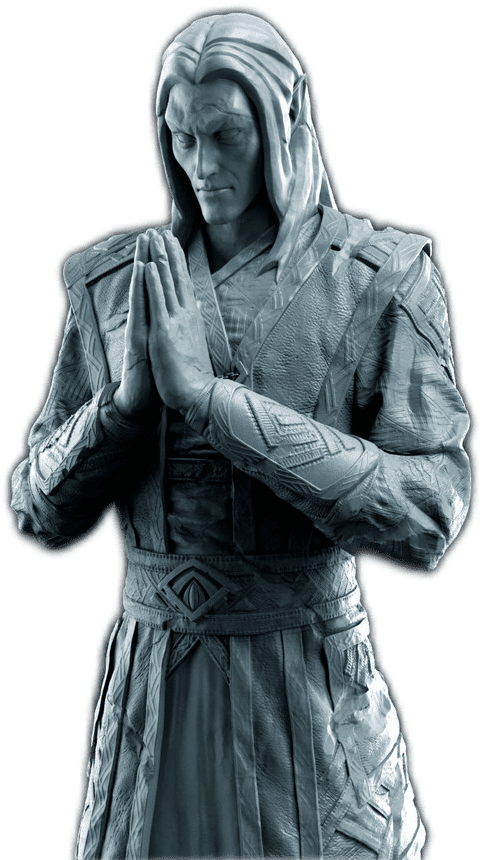 Saint Delyn, ESO Saint Delyn, ESO |
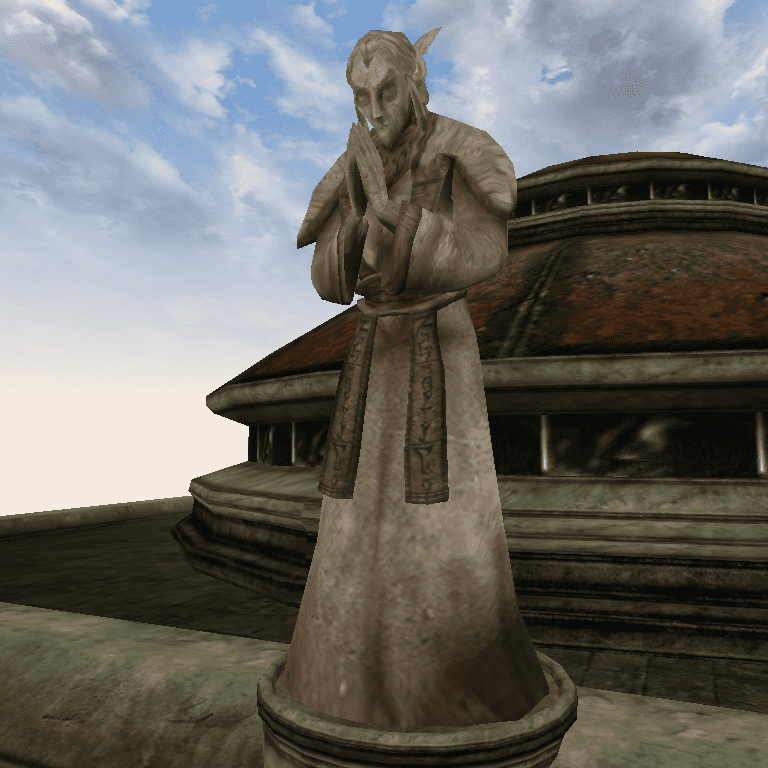 Saint Delyn, Morrowind Saint Delyn, Morrowind |
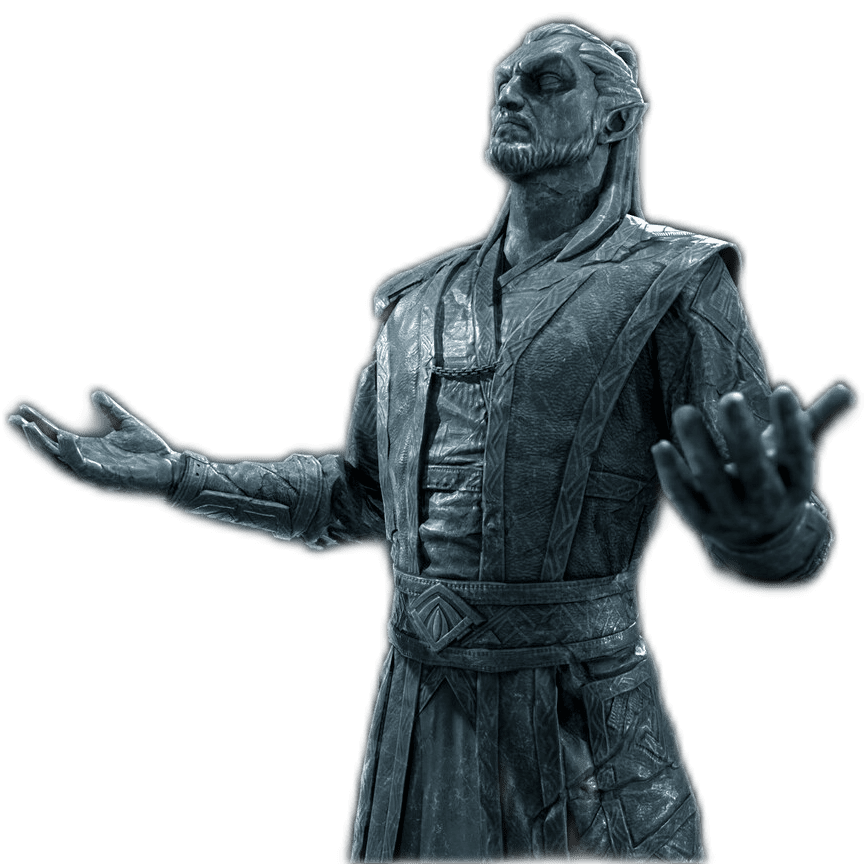 Saint Olms, ESO Saint Olms, ESO |
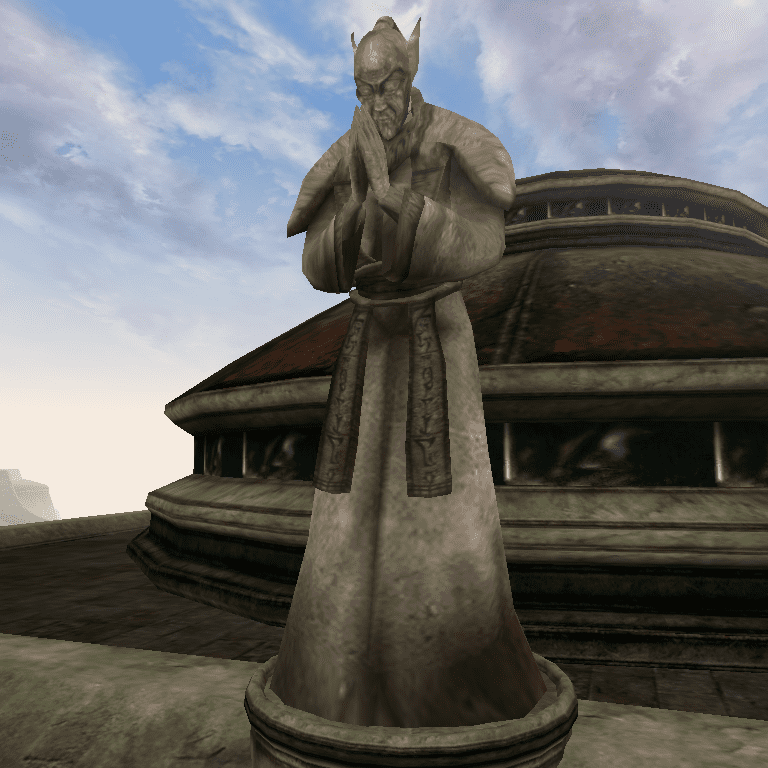 Saint Olms, Morrowind Saint Olms, Morrowind |
|---|---|---|---|
|
Statues of the Dunmer saints, Delyn the Wise and Olms the Just, were built atop their respective cantons in Vivec City.[15] Saint Olms is remembered as the patron saint of Chandlers and Clerks, and Saint Delyn the Patron of Potters and Glassmakers.[21] |
|||
Saint Felms and Saint Llothis[edit] |
|||
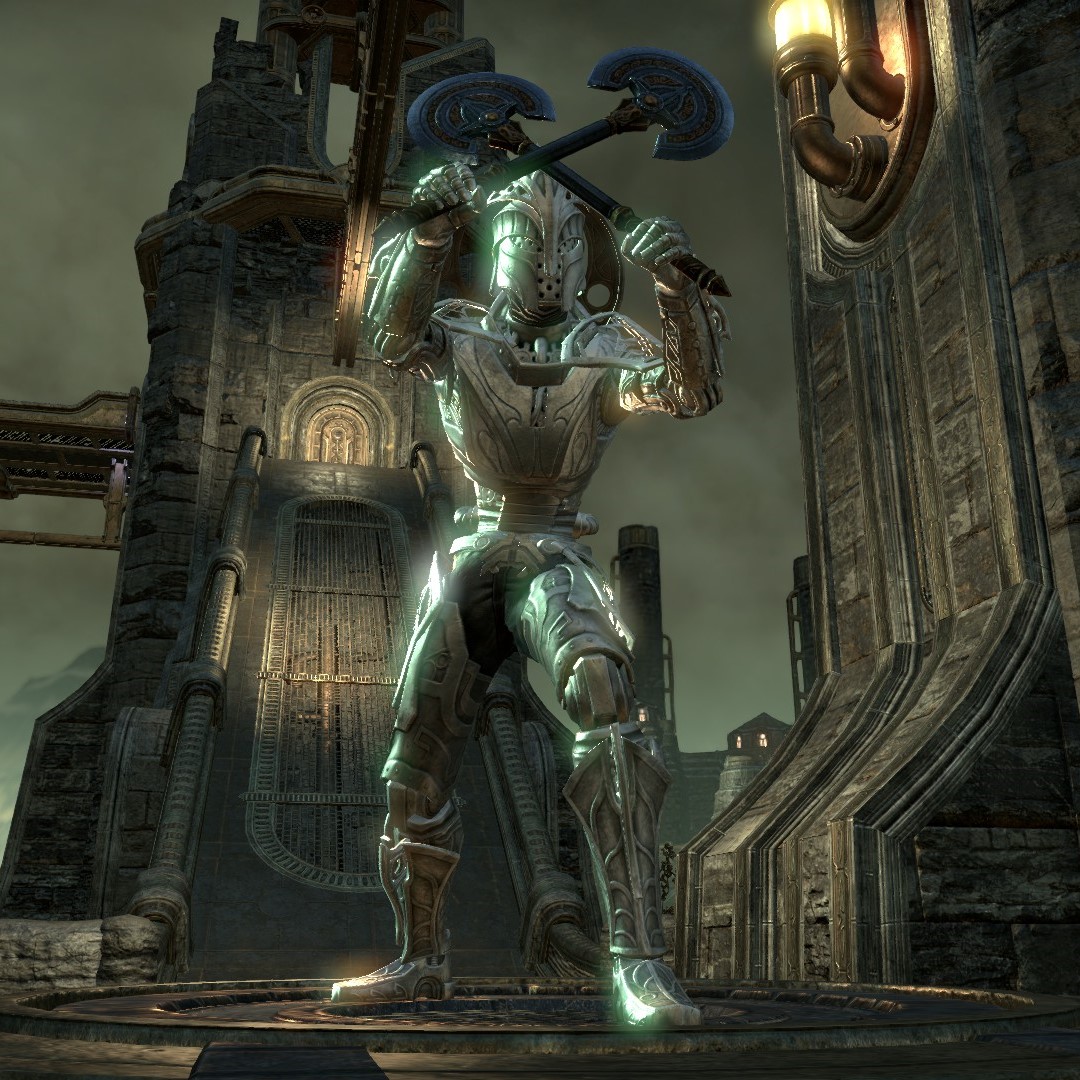 Saint Felms, ESO Saint Felms, ESO |
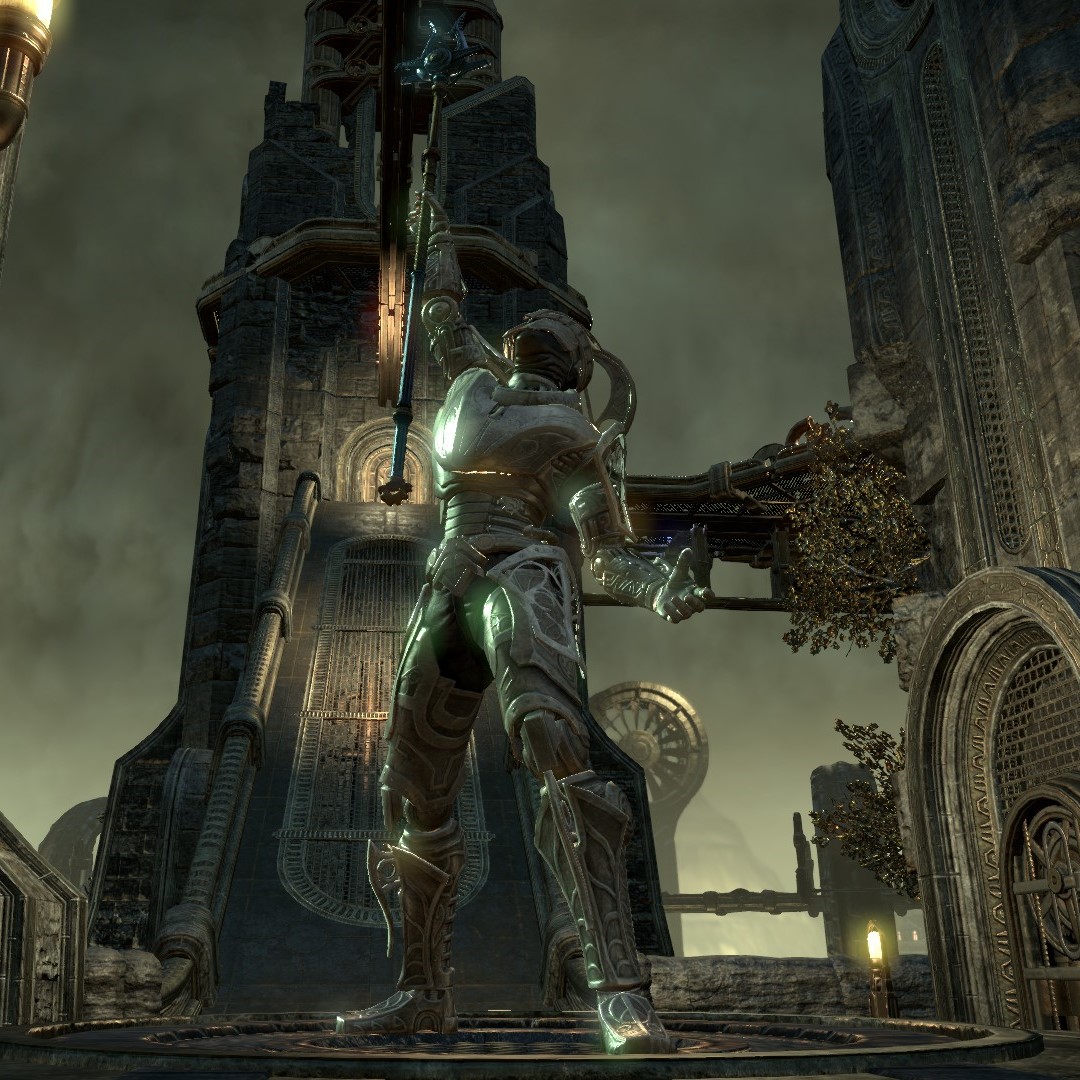 Saint Llothis, ESO Saint Llothis, ESO |
||
|---|---|---|---|
|
Great statues of Saint Felms and Saint Llothis in their factotum forms were built in the Asylum Sanctorium of the Clockwork City. When the saints were close to death, Sotha Sil placed their souls into a modified black soul gem and installed them into giant factotum bodies to make them immortal.[22] Unfortunately, the process eventually drove them both to madness for varying reasons.[23][24] Their souls were eventually released from the factotum bodies in 2E 582.[25] |
|||
Saint Kaladas[edit] |
|
|
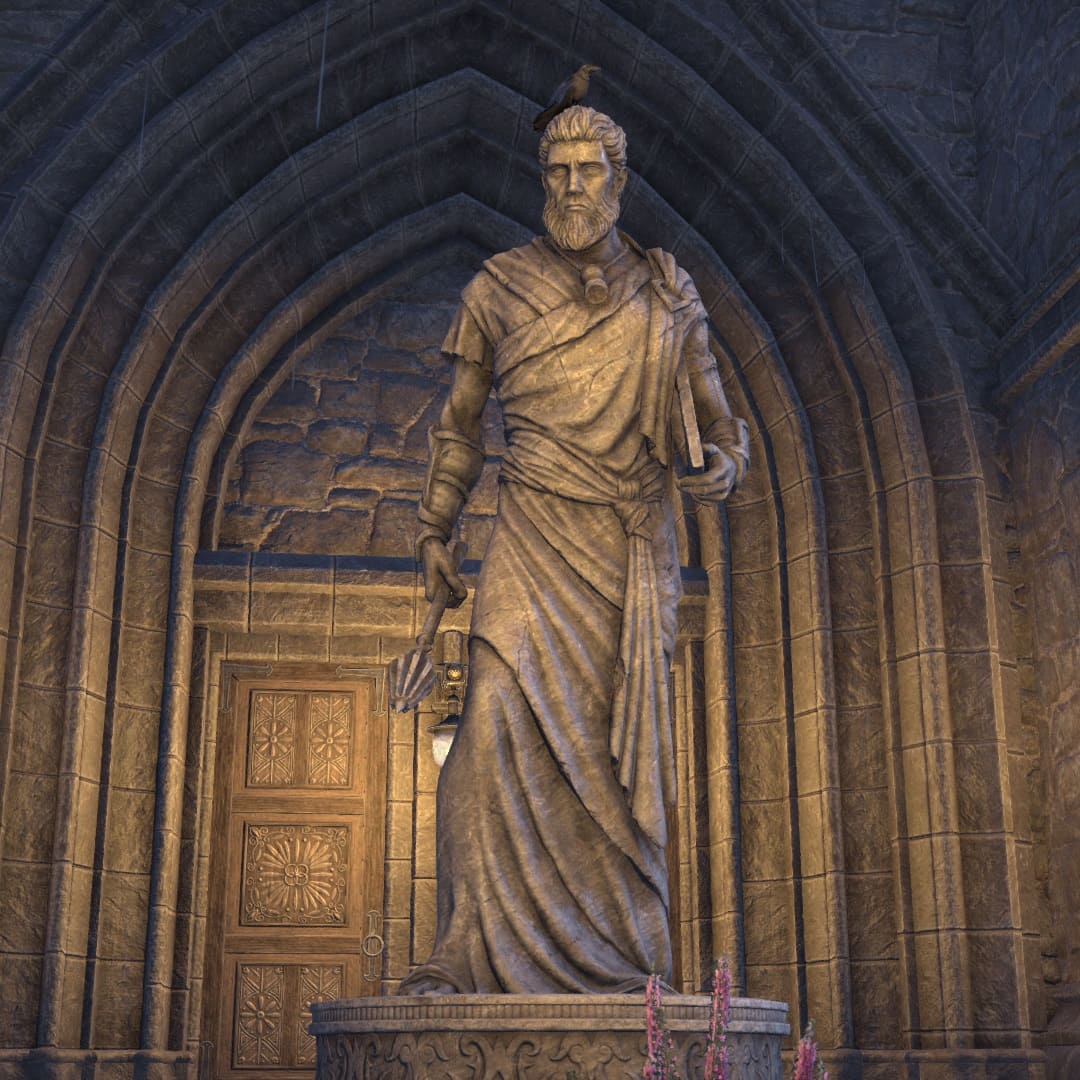
A statue of Saint Kaladas the Architect was built outside the Great Chapel of Zenithar in Leyawiin at some point before the mid-Second Era. Kaladas lived several centuries after the Alessian Slave Rebellion and is best remembered for building the Great Chapel in the sixth century of the First Era in tribute to the messenger who is said to have carried the Mace of the Crusader to Leyawiin following the death of Pelinal Whitestrake.[26][27] Saint Kaladas was laid to rest in the chapel undercroft and he was later canonized as an Imperial saint,[27][28] but his statue in Leyawiin was gone by the late-Third Era.[29] |
 ESO ESO |
Saint Nerevar[edit] |
|
|
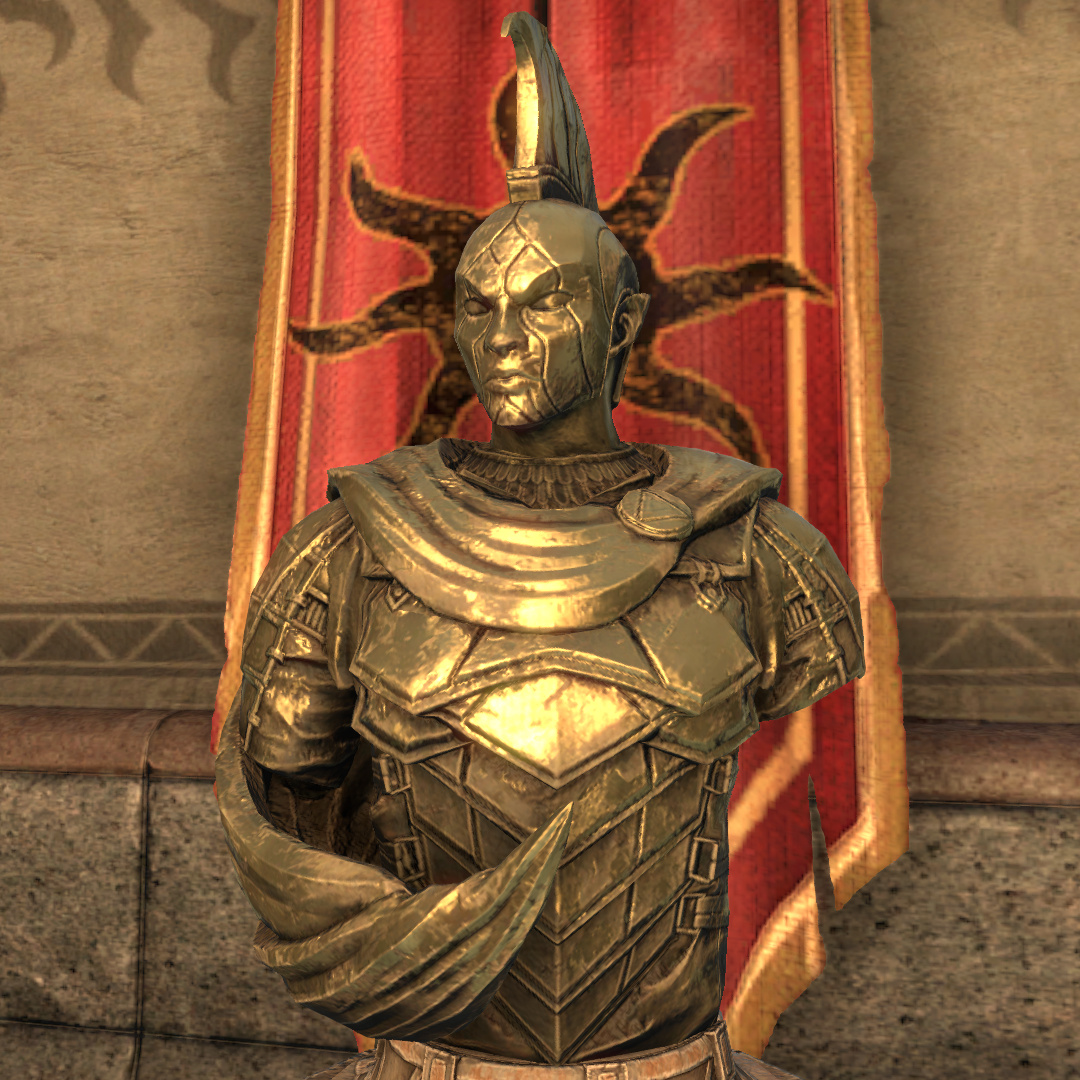
A bust of Saint Nerevar, the Champion of Azura, was uncovered in the mid-Second Era by the Antiquarian Circle in Vvardenfell. This discovery was of particular note, given realistic (albeit conservative in this case) depictions of Dunmer religious figures were uncommon. Historians noted that the bust shared similarities to works from the Gwylim First Council collection and the Bruma School, circa 1E 2800, speculating that the sculptor may have had Imperial influences.[30] It is unknown if the sculptor conceptualized Nerevar with the golden skin of the Chimer or the ashen skin of the Dunmer, given that their portraiture leans toward monochromatic, abstract compositions. However some scholars believe the Dunmer were master revisionists and would have chosen the latter.[30] |
 ESO ESO |
Saint Osla[edit] |
|
|
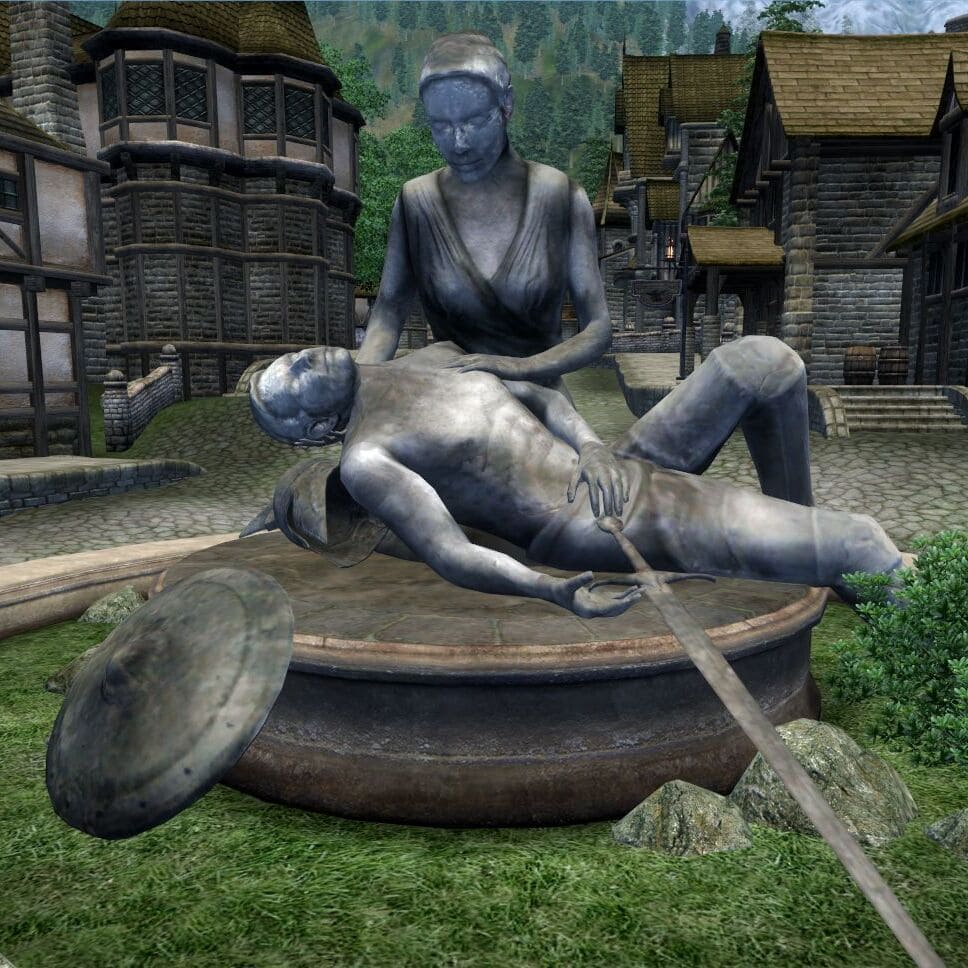
A statue of Saint Osla was built at Fountain Gate in the city of Chorrol at some point after the late-Second Era.[31] The memorial, known as "The Touch of the Healers Hand", stands in memory to all who died at the Sack of Sancre Tor in 2E 852, where Tiber Septim fought against the Nords and Bretons at the fortress of Sancre Tor in Cyrodiil. The statue depicts St. Osla ministering the fallen during the battle.[32][33]:361 |
 Oblivion Oblivion |
Saint Stental[edit] |
|
 ESO ESO |
 ESO ESO |
|---|---|
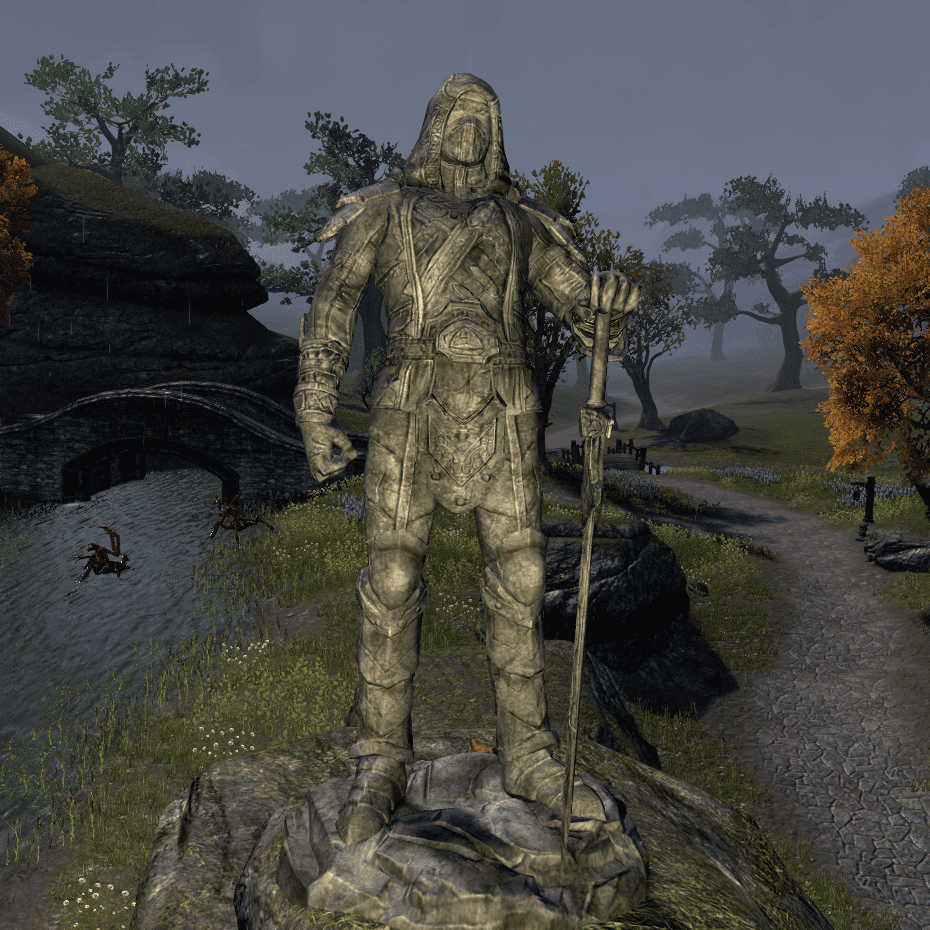
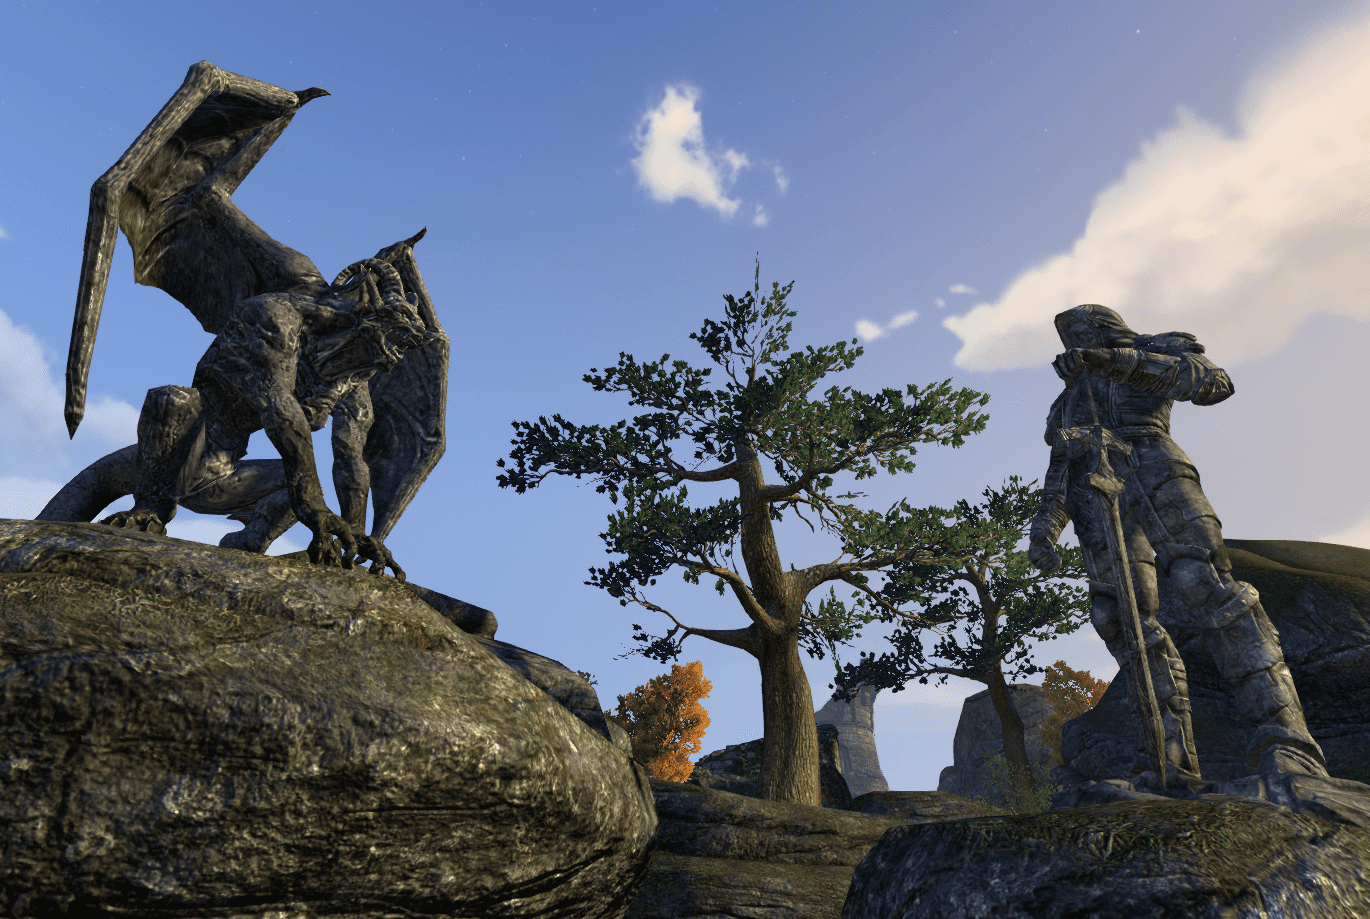
| A memorial of Saint Stental was erected in Stormhaven in 2E 388. Named "The Saint Slays the Leaper", it was built to honor Stental's act of heroism when he slew the demon of Overlook Hill, rescuing the three Sisters of Kynareth from a terrible fate. It depicts two statues, one of Stental armed with a sword facing a crouched gargoyle.[34][35][nb 1] | |
Sword Saints[edit]
Ansei Majah, Radan and Halelah[edit] |
|
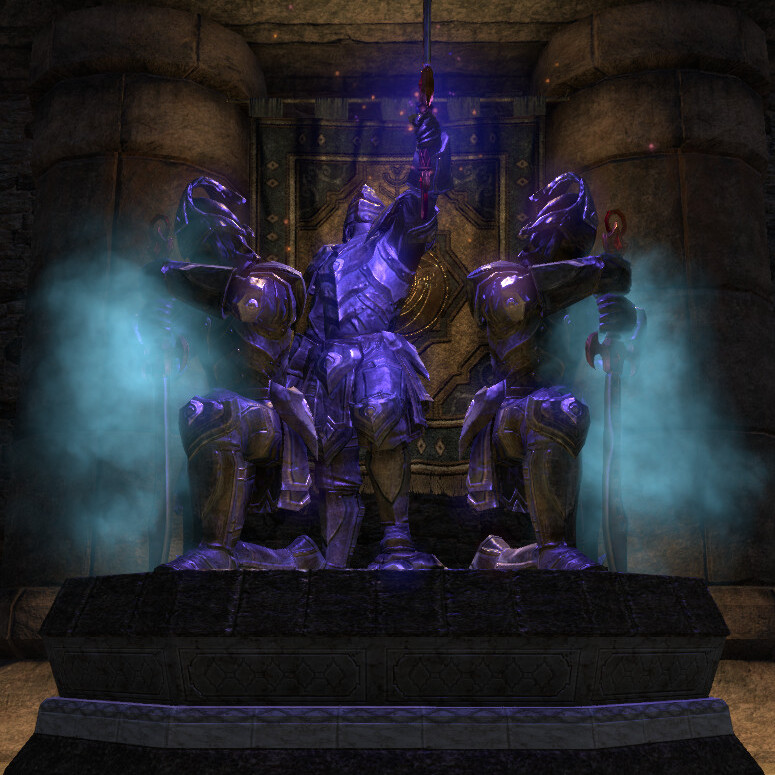 ESO ESO |
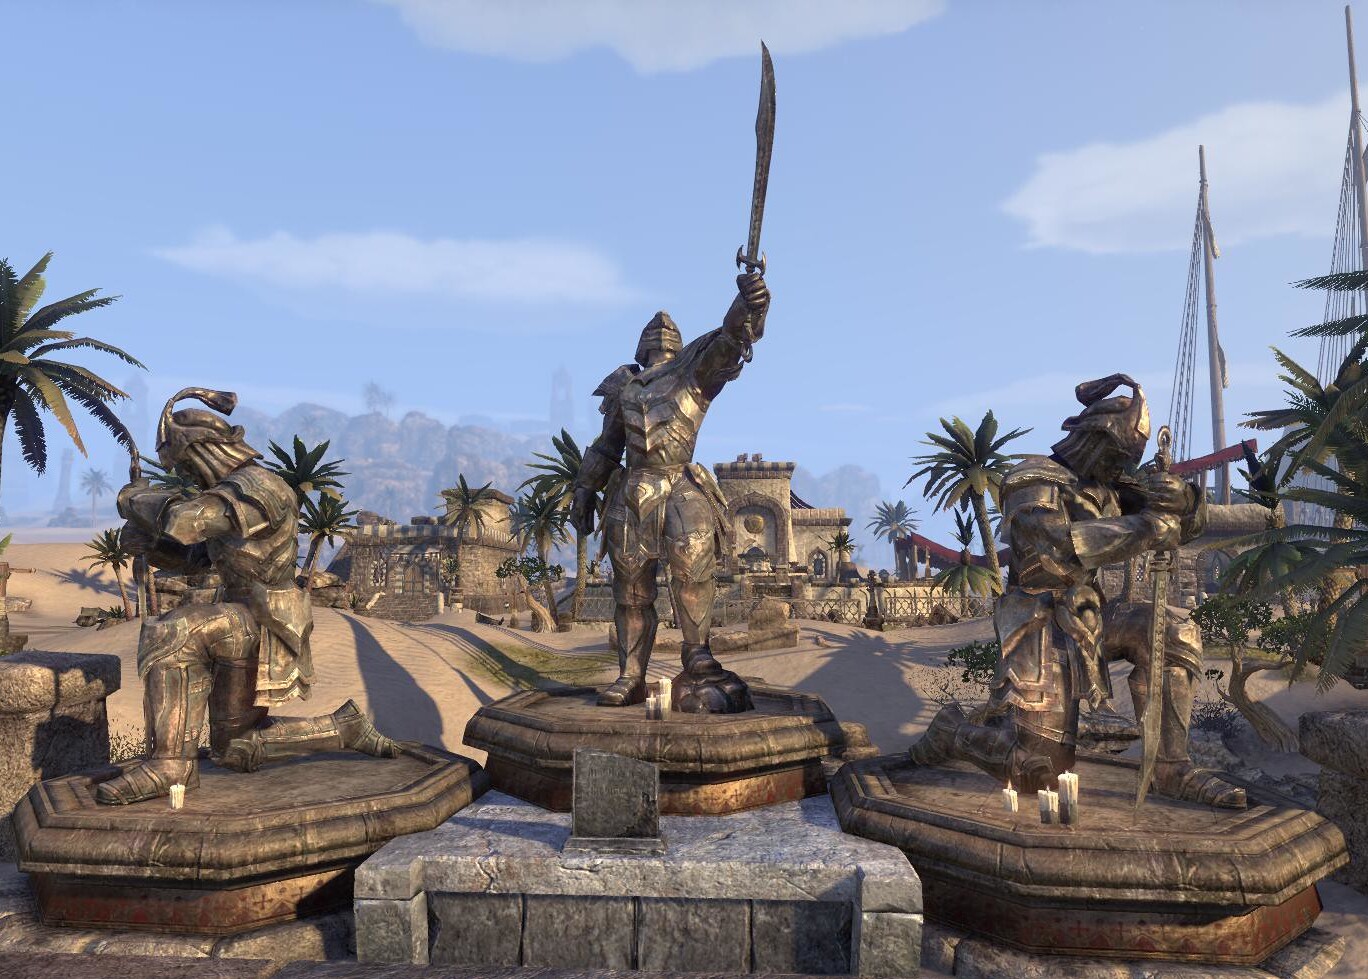 ESO ESO |
|---|---|
|
Statues of the three ancient Redguard heroes, Ansei Majah, Radan, and Halelah, were built in the Impervious Vault in Sentinel. These statues were erected to hold three Ansei Wards - magical relics from the First Era that contained the spirits the three heroes. The Wards were created in ancient times to combat against the threat of necromancy in the Alik'r Desert.[36][37] During the mid-Second Era, the Withered Hand necromancers infiltrated the Impervious Vault and stole the Ansei Wards in order to raise undead army against King Fahara'jad.[37] With the aid of the Ash'abah the Wards were eventually recovered and placed back in the Ansei statues that previously held them.[38] |
Almost identical statues of the three Ansei heroes were erected in Tava's Blessing. They were sculpted by the artist Jamshald Lainlyn in 2E 102 to honor the esteemed Ansei and to commemorate the birthplace of Ansei Maja.[39] The town was briefly occupied by the Withered Hand when one of their leaders attempted to use the power of an Ansei Ward to become a lich, but his plan was stopped by the Ash'abah and Ansei Maja's spirit.[40] |
Ansei Satameh, Ra Hasar and Ra Huzar[edit] |
||
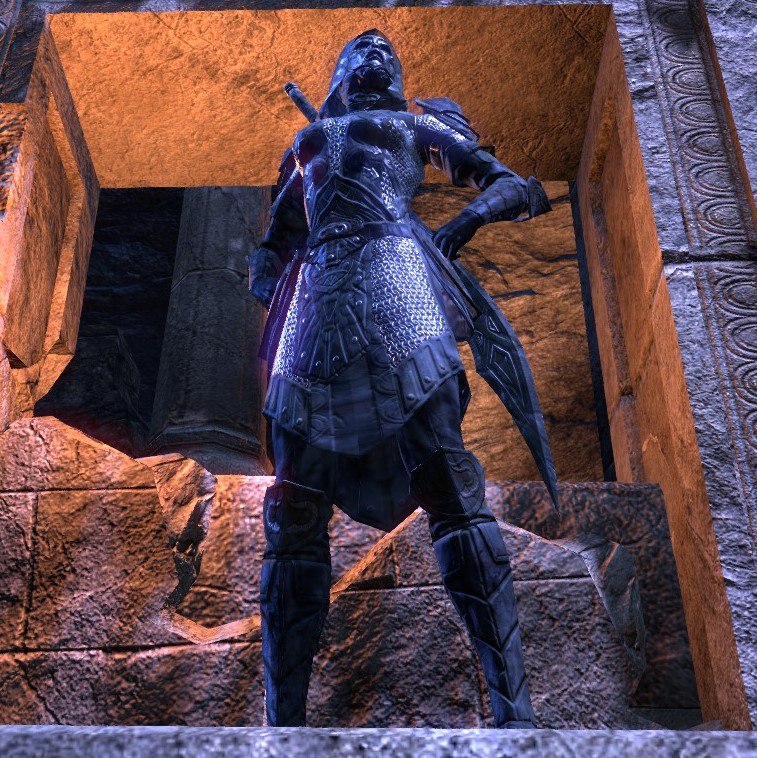 Ansei Satameh, ESO Ansei Satameh, ESO |
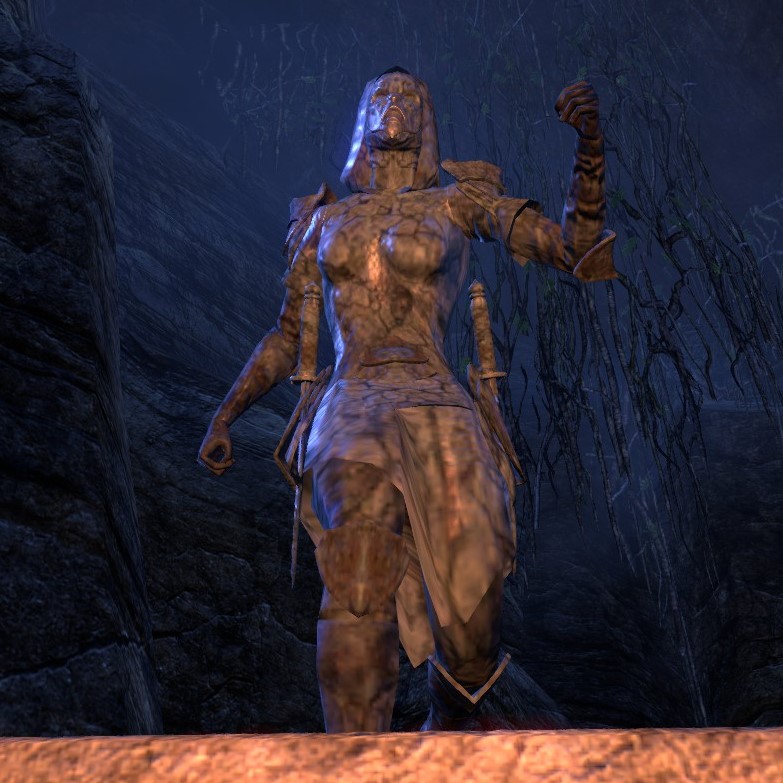 Ra Hasar, ESO Ra Hasar, ESO |
 Ra Huzar, ESO Ra Huzar, ESO |
|---|---|---|
|
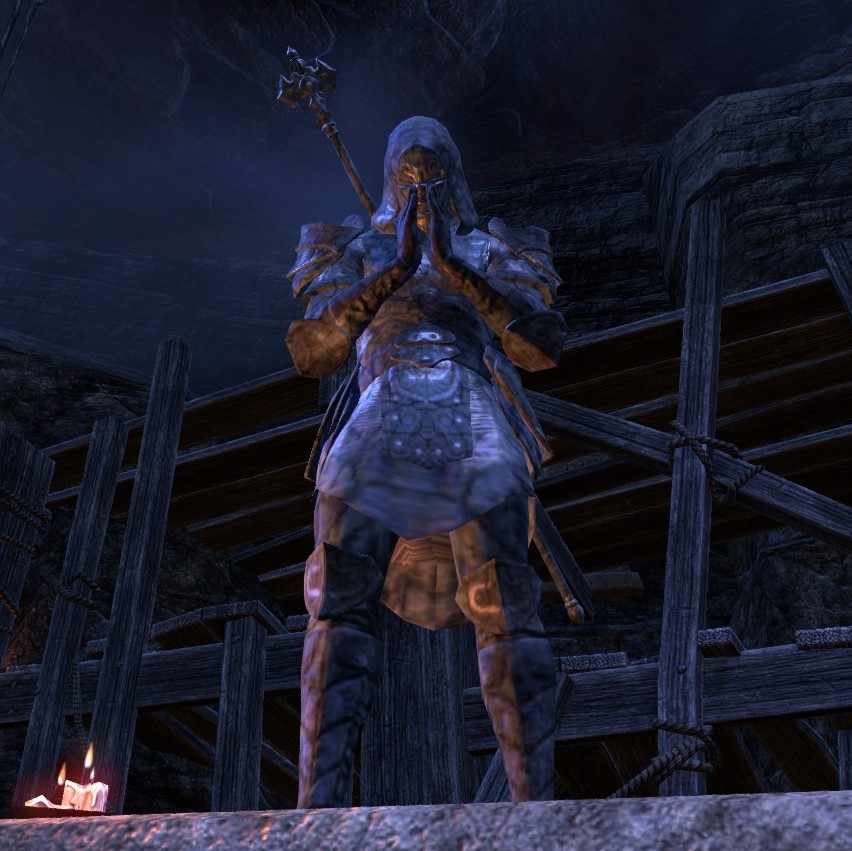
Statues of the "twins of sword and spear", Ra Hasa and Ra Huzar, and their mother, Ansei Satameh the "Tigress of Dragonstar", were built atop their honored tombs in the Valley of the Blade. During the Planemeld, Sai Sahan travelled to the sword-school to acquire the Ring of Stendarr's Mercy, but encountered Mannimarco and his Daedric minions. Mannimarco raised the bones of the ancient heroes in an attempt to stop Sai Sahan, but they were ultimately defeated.[41] |
||
Ansei Kalam and Ra Adia[edit] |
|
 Ansei Kalam, ESO Ansei Kalam, ESO |
 Ra Adia, ESO Ra Adia, ESO |
|---|---|
|
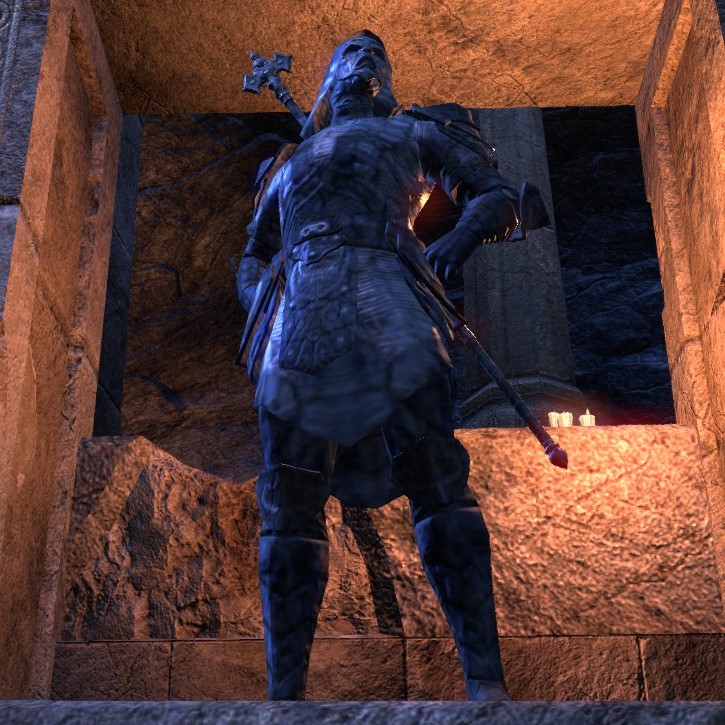
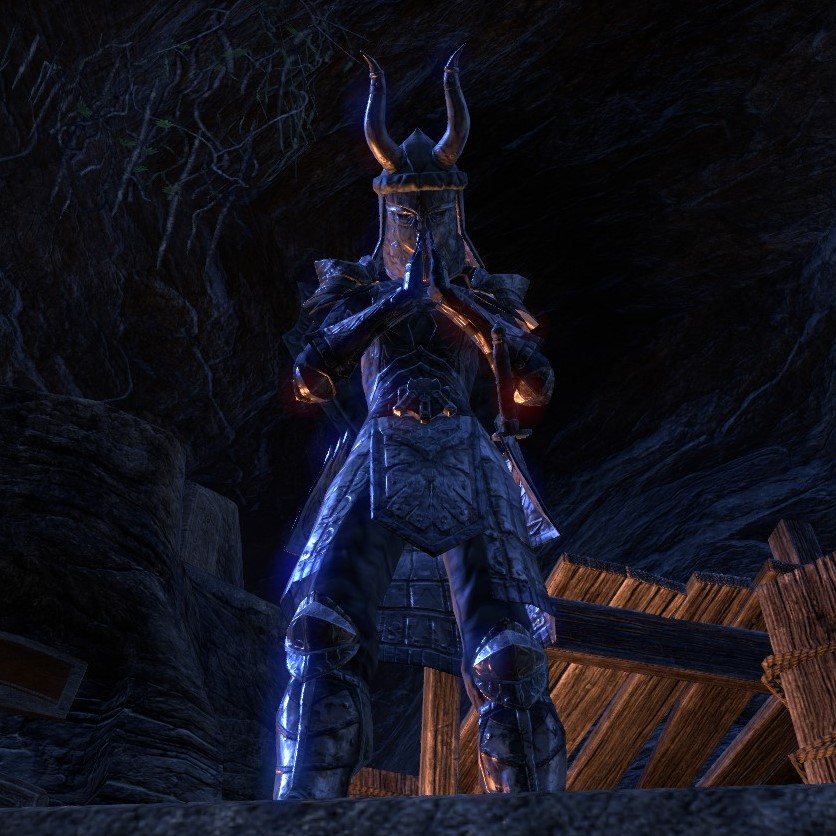
Statues of Ansei Kalam, known as the "Master of Polearms", and his daughter Ra Adia, were built atop their honored tombs in the Valley of the Blade. During the Planemeld, Sai Sahan travelled to the sword-school to acquire the Ring of Stendarr's Mercy, but encountered Mannimarco and his Daedric minions. Mannimarco raised the bones of the ancient heroes in an attempt to stop Sai Sahan, but they were ultimately defeated.[41] |
|
Divad Hunding[edit] |
|
|
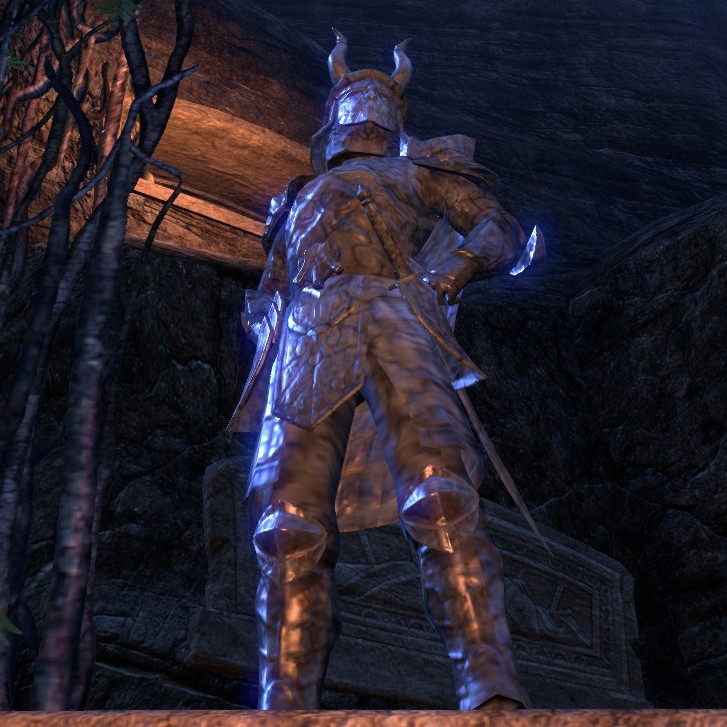
Divad Hunding was the famed son of the legendary sword-singer Frandar Hunding. He is noted for continuing Frandar's conquest of Hammerfell in the First Era. After his death, a statue of him was built atop his honored tomb in the Valley of the Blade, however, other evidence suggests he was buried in the sacred Hall of Heroes, alongside his father.[42] During the Planemeld, Sai Sahan travelled to the sword-school to acquire the Ring of Stendarr's Mercy, but encountered Mannimarco and his Daedric minions. Mannimarco raised the bones of the ancient hero in an attempt to stop Sai Sahan, but he was ultimately defeated.[41] |
 ESO ESO |
Ra Abah[edit] |
|
|
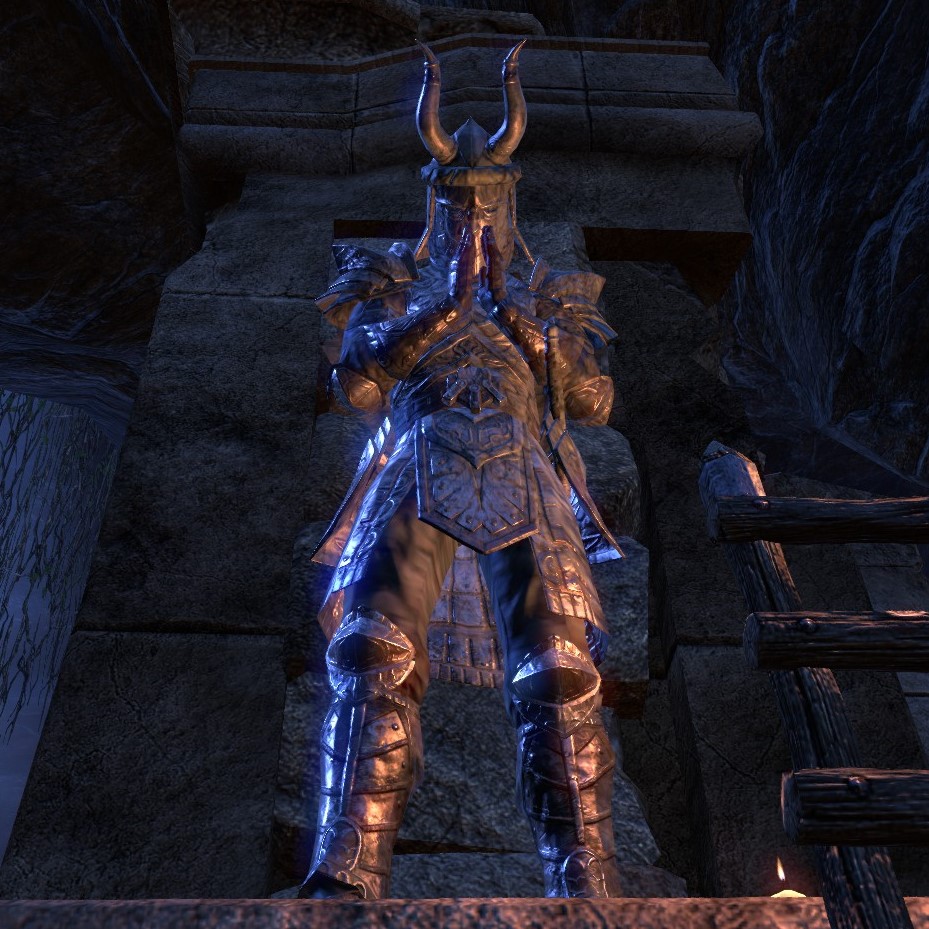
Ra Abah was a renowned Yokudan warrior who fought alongside Frandar Hunding in the War of the Singers against Emperor Hira.[43] After his death, a statue of him was built atop his honored tomb in the Valley of the Blade. During the Planemeld, Sai Sahan travelled to the sword-school to acquire the Ring of Stendarr's Mercy, but encountered Mannimarco and his Daedric minions. Mannimarco raised the bones of the ancient hero in an attempt to stop Sai Sahan, but he was ultimately defeated.[41] |
 ESO ESO |
Notes[edit]
- ^ A Dreughsider NPC mistakenly refers to this statue as King Joile during the quest They Dragged Him Away.
References[edit]
- ^ Triptych of the Triune furnishing in ESO
- ^ Appearance of the Ghostfence in Morrowind
- ^ Almalexia Figurine treasure item ESO
- ^ Mother Morrowind Fertility Fetish treasure item ESO
- ^ 2920, Sun's Dusk — Carlovac Townway
- ^ Elder Othreloth's dialogue in Skyrim
- ^ Ghosts of the Tribunal Creation Club add-on for Skyrim
- ^ Fresco in Morrowind
- ^ Sotha Sil Figurine treasure item in ESO
- ^ Votive Statue of Seht treasure item in ESO
- ^ Sotha Sil Statuette of Dwarven Metal treasure item in ESO
- ^ Appearance of statue in Clockwork City in ESO
- ^ Plaque inscription during The Pilgrim's Path quest in ESO
- ^ The location of the statue in Morrowind
- ^ a b The location of the statue in ESO
- ^ The location of the statue in ESO: Necrom
- ^ Statuette: Vivec's Triumph description in ESO
- ^ a b 36 Lessons of Vivec, Sermon 34 — Vivec
- ^ 36 Lessons of Vivec, Sermon 12 — Vivec
- ^ The Prior's Fulcrum — Abbot Ilvel
- ^ Lives of the Saints — Tribunal Temple
- ^ Saints' Mercy quest in ESO: Clockwork City
- ^ Evaluation of Saint Felms — Alienist Llandras
- ^ Evaluation of Saint Llothis — Alienist Llandras
- ^ Alienist Llandras' dialogue during Saints' Mercy in ESO: Clockwork City
- ^ Traveler's Guide to Leyawiin — Astinia Isauricus; published 1 Frost Fall, 2E 569
- ^ a b Sir Ralvas' dialogue in Oblivion: Knights of the Nine
- ^ Carodus Oholin's dialogue in Oblivion: Knights of the Nine
- ^ Leyawiin's layout in Oblivion
- ^ a b St. Nerevar, Moon-and-Star antiquity codex entries in ESO
- ^ Guide to Chorrol — Alessia Ottus
- ^ Battle of Sancre Tor
- ^ The Elder Scrolls IV: Oblivion Official Game Guide — Peter Olafson — "Statue—The Touch of the Healers Hand: Represents the Second Era healer, St. Osla, ministering to the fallen at the Sack of Sancre Tor."
- ^ Saint Stental
- ^ Appearance of statue near Dreughside in ESO
- ^ Epode of the Ansei Wards — Weltan of Sentinel
- ^ a b King Fahara'jad's dialogue in ESO
- ^ Restoring the Ansei Wards quest in ESO
- ^ Ansei Shrine
- ^ Alasan's Plot quest in ESO
- ^ a b c d Valley of Blades quest in ESO
- ^ To Walk on Far Shores quest in ESO
- ^ Sai Sahan's dialogue in ESO
Note: The following references are considered to be unofficial sources. They are included to round off this article and may not be authoritative or conclusive.